
 |
|
get set up with
sportsense.
The first part gets you running on sportsense, and the second covers bringing your clients on and coaching them between sessions.
Download &
Create Account.
Get sportsense on your phone and create your account. Coaches and staff go on Pro, your clients only ever need a free account.
1.1
Download & Sign Up
- Download sportsense from the App Store (iOS) or Google Play (Android) using the buttons below.
- Open the app and tap Sign Up.
- Enter your name, email address, and a password.
- Verify your email if prompted, then log in.
- You are now set up with an account and ready to create a feed.
Create Your
First Feed.
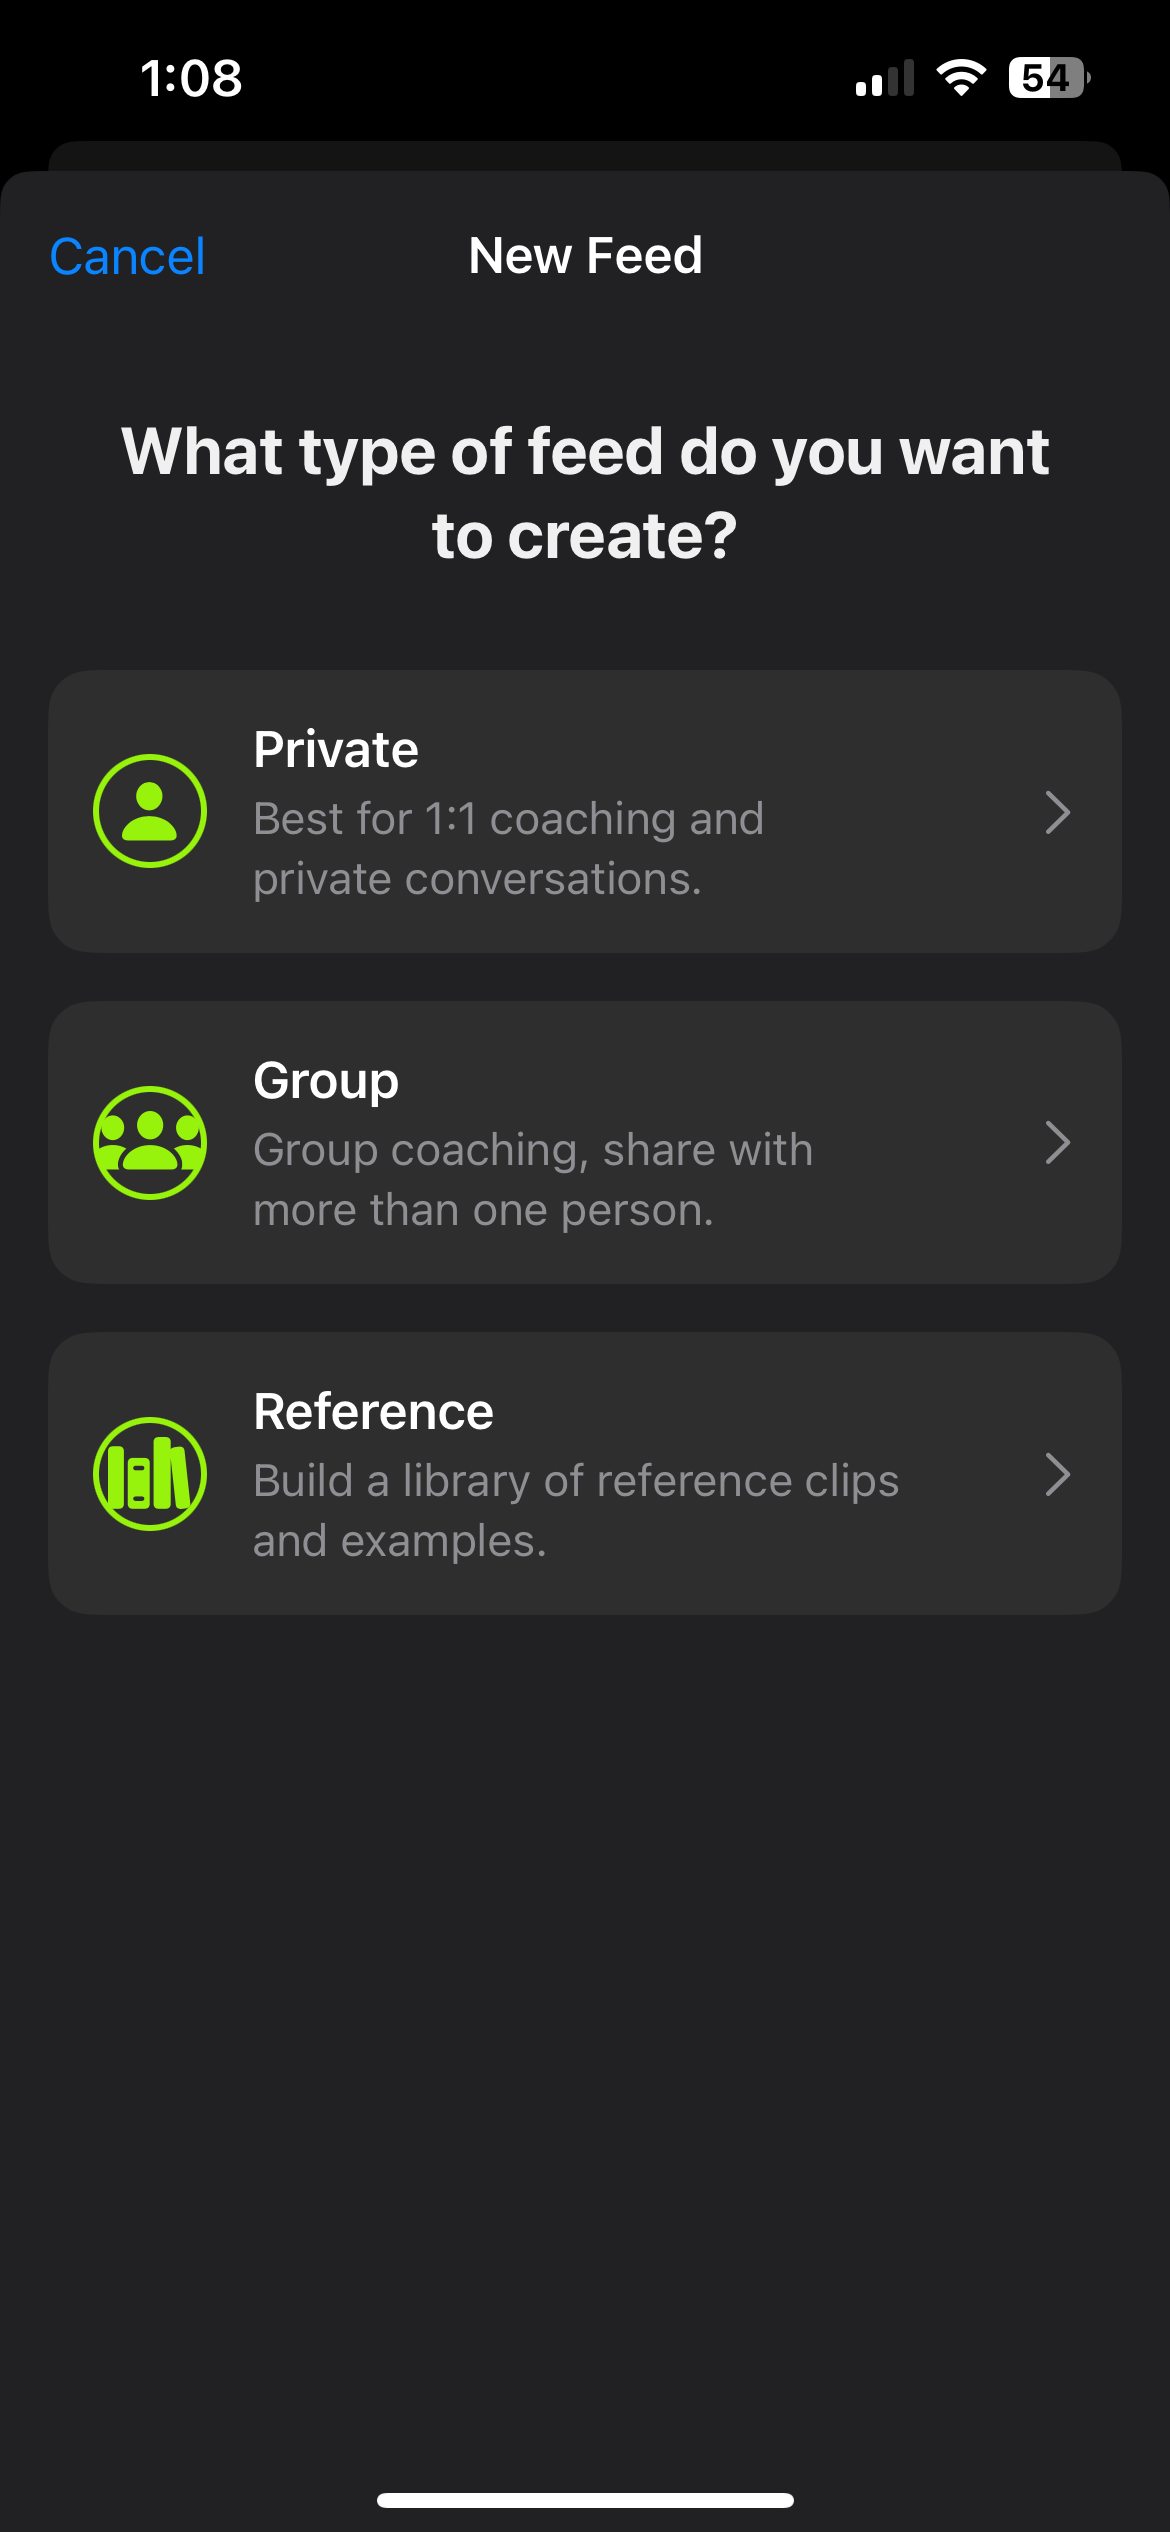
Feeds are private spaces where you and your clients share video and feedback. One feed per client for 1:1, or a group feed for a squad.
2.1
Create a New Feed
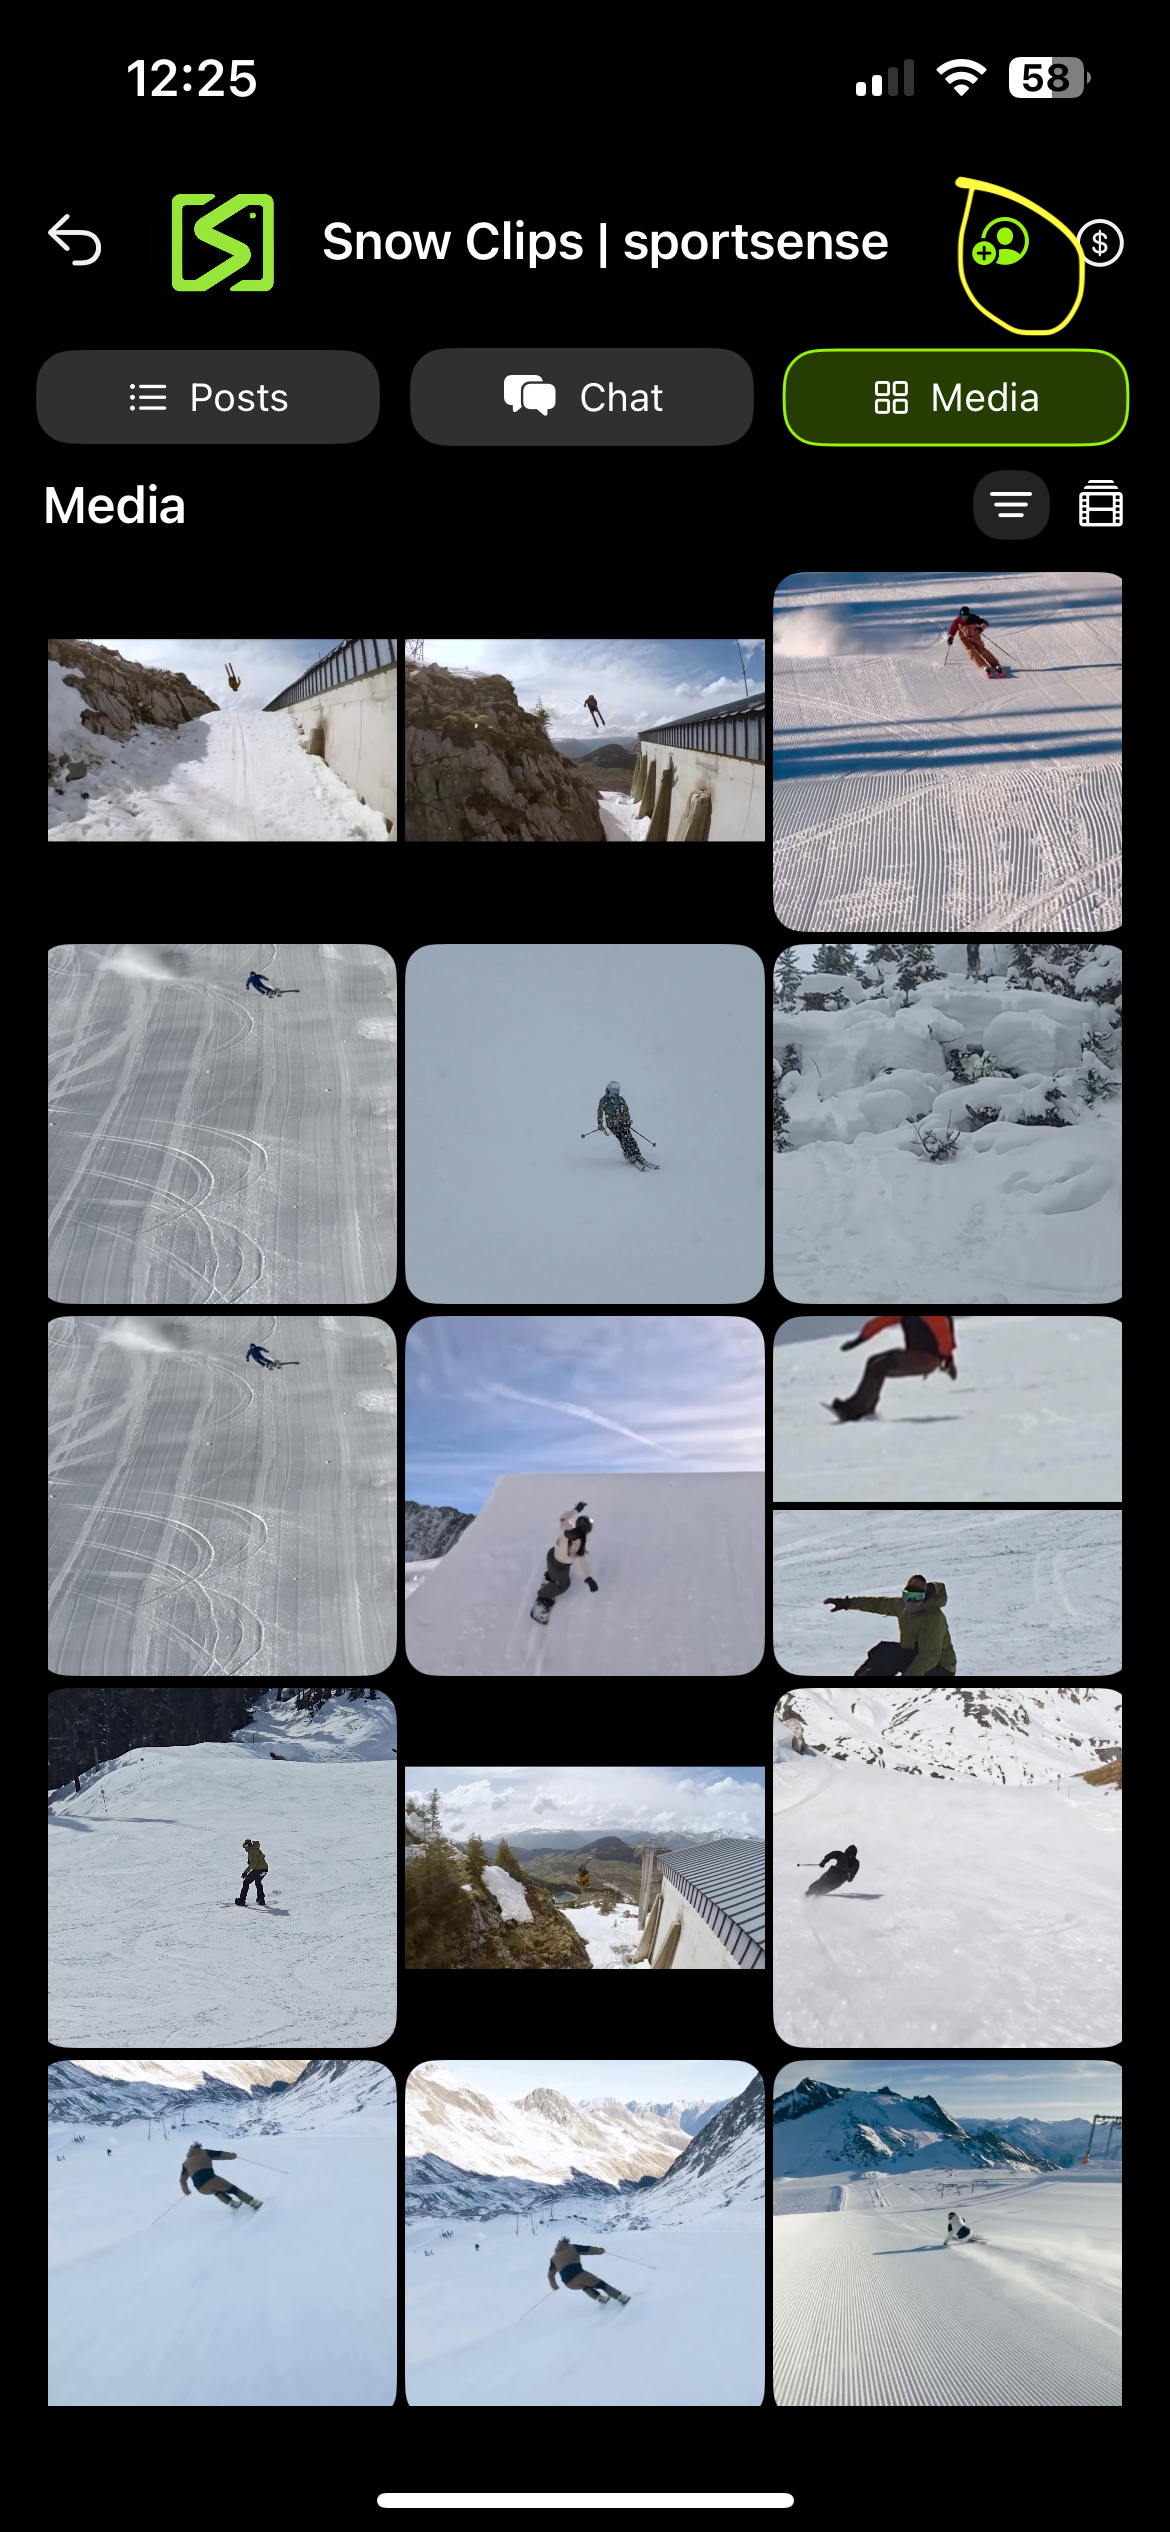
- Tap the Share tab at the bottom of the app (the rightmost icon).
- Tap the + button in the top right corner to create a new feed.
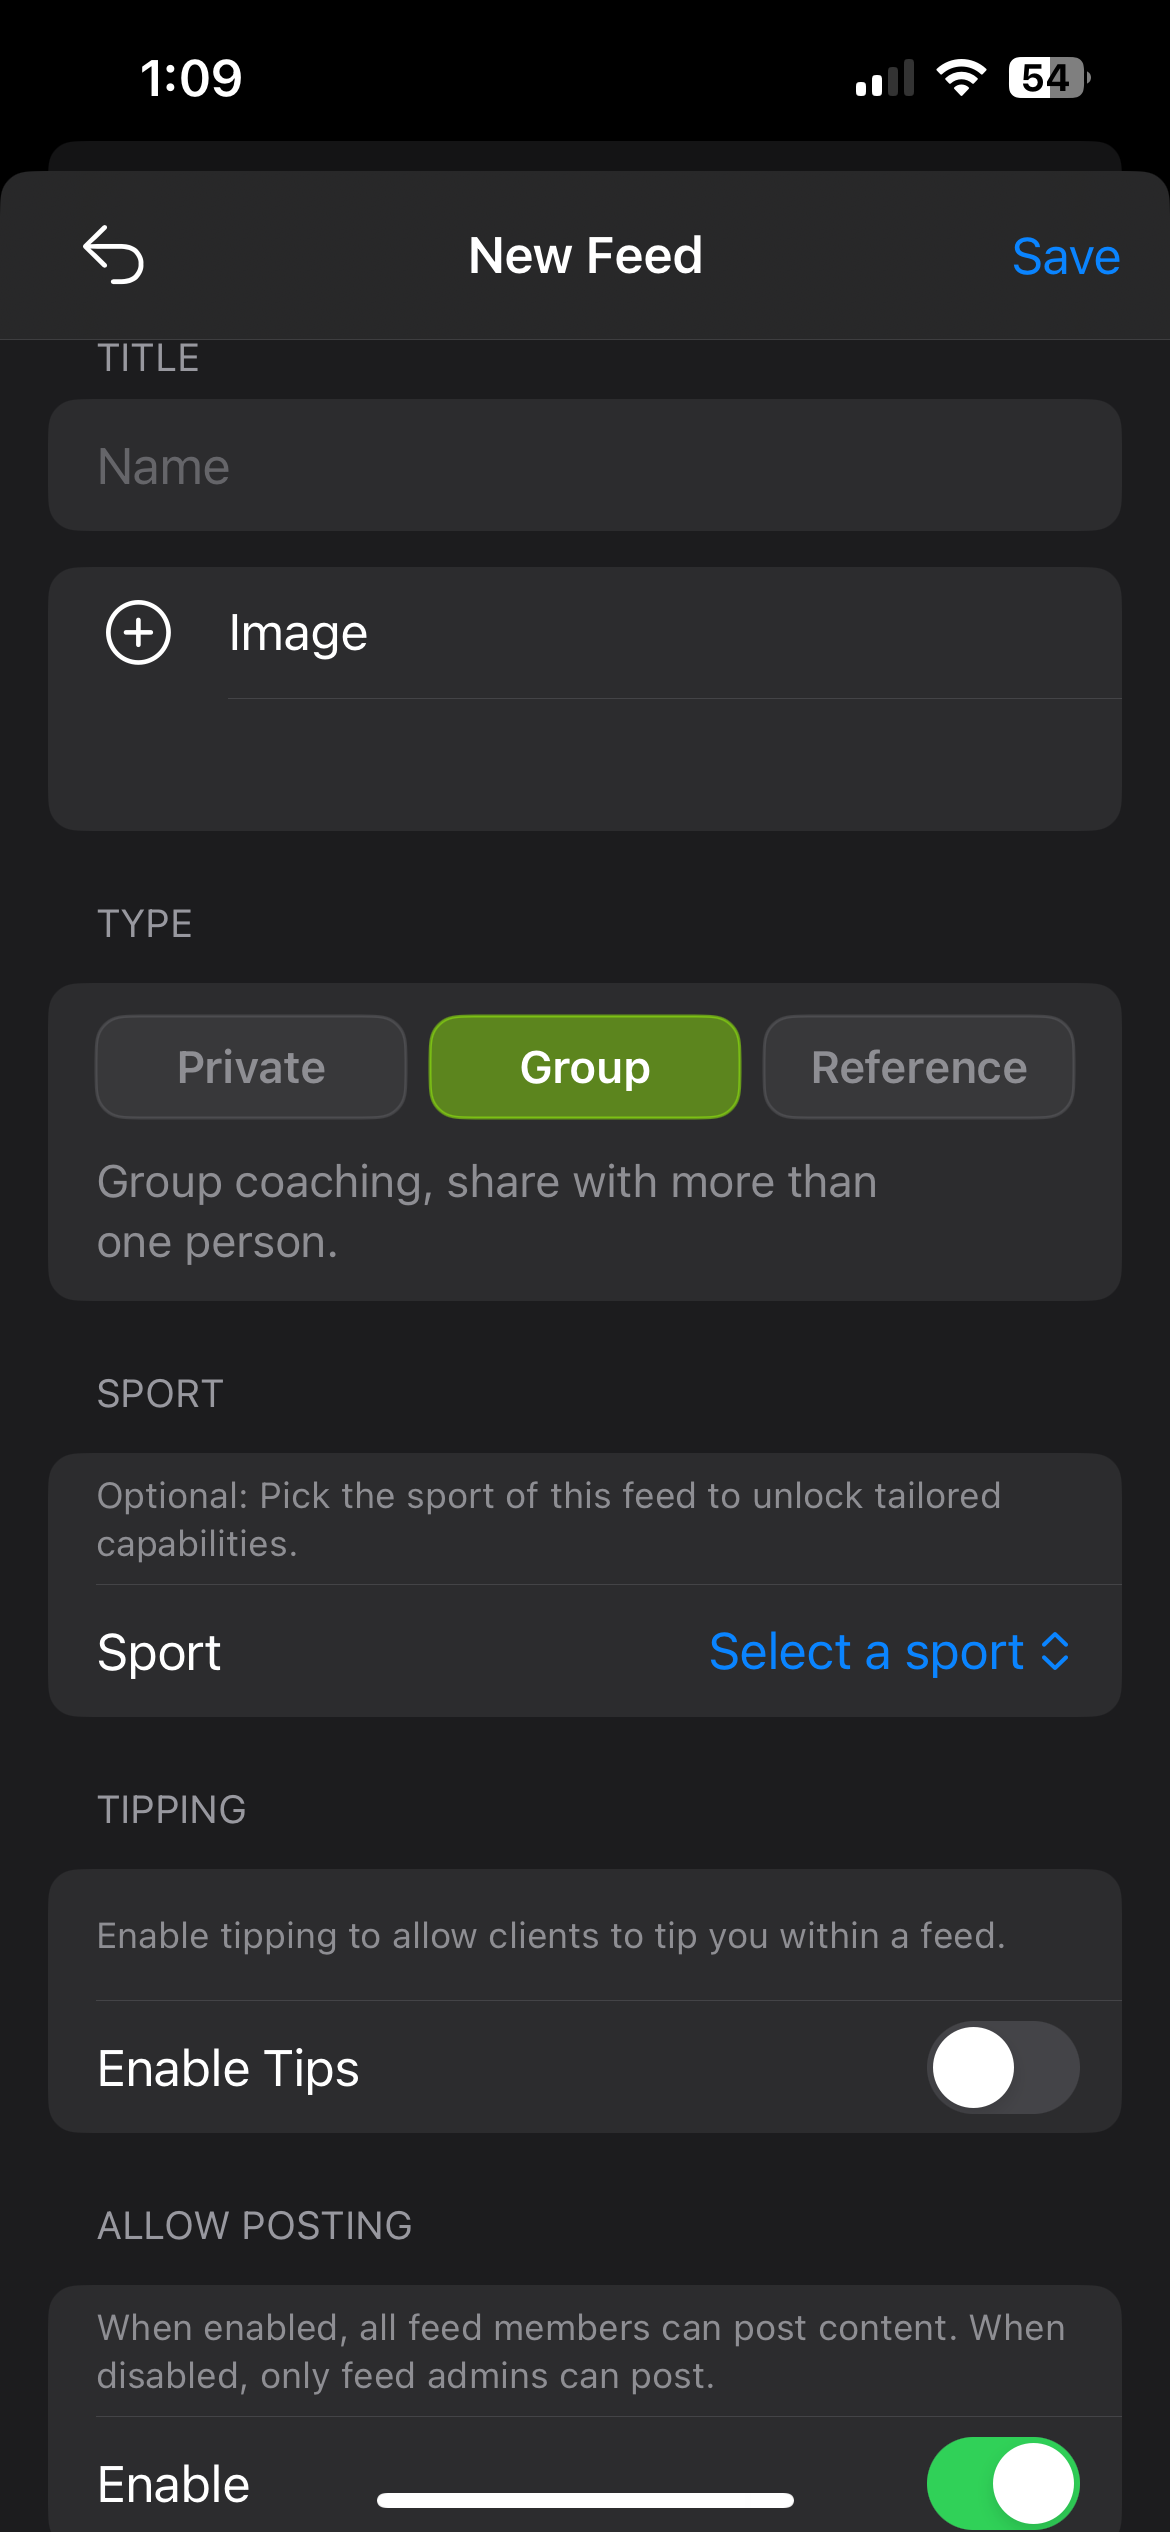
- Give the feed a name (a client's name, a group, or a program).
- Choose the feed type (private for 1:1, group for a squad), set the sport, and add a cover image if you like.
- Tap Create to finish setting up the feed.

The Core
Loop.
The fastest way to feel what sportsense does. Take a clip, break it down, talk over it, and share it. Under two minutes from footage to filed feedback.

Capture a clip
Record in the sportsense camera or pull a clip from your camera roll. No footage yet? Use a sample clip so you are not stuck.
Analyze it
Open the clip in the analyzer and break the movement down with overlays, angles, and slow motion.
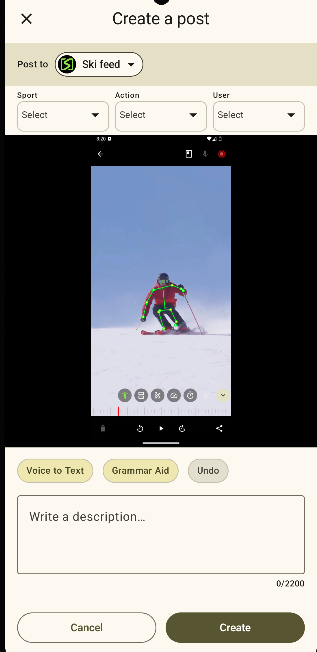
Voice your feedback
Talk through the clip and hit record to capture your coaching as you go, no typing required.
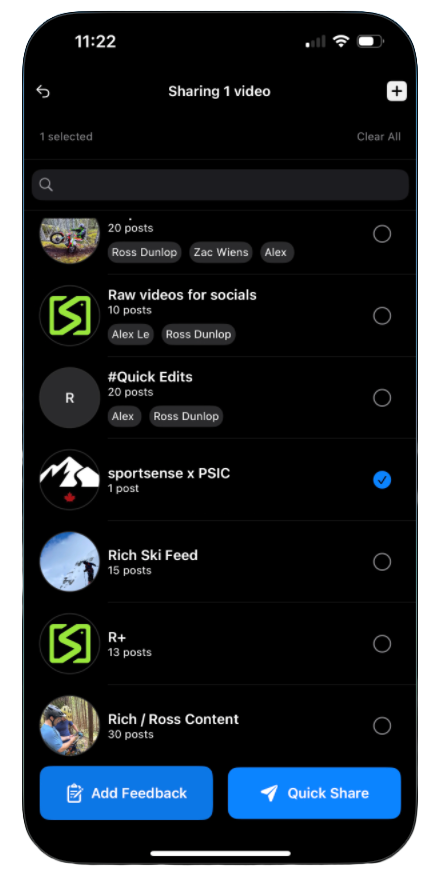
Share it
sportsense files it to the feed, tags it, and transcribes your voice. That is the aha: a clip to filed, tagged feedback in under two minutes.
Add Your
Clients.
Bring a client into their feed and they can watch their clips, see your feedback, and message you. They join for free, they never pay to be added.
4.1
Invite Your Clients
How you invite depends on whether the client already has sportsense.
If they already have the app:
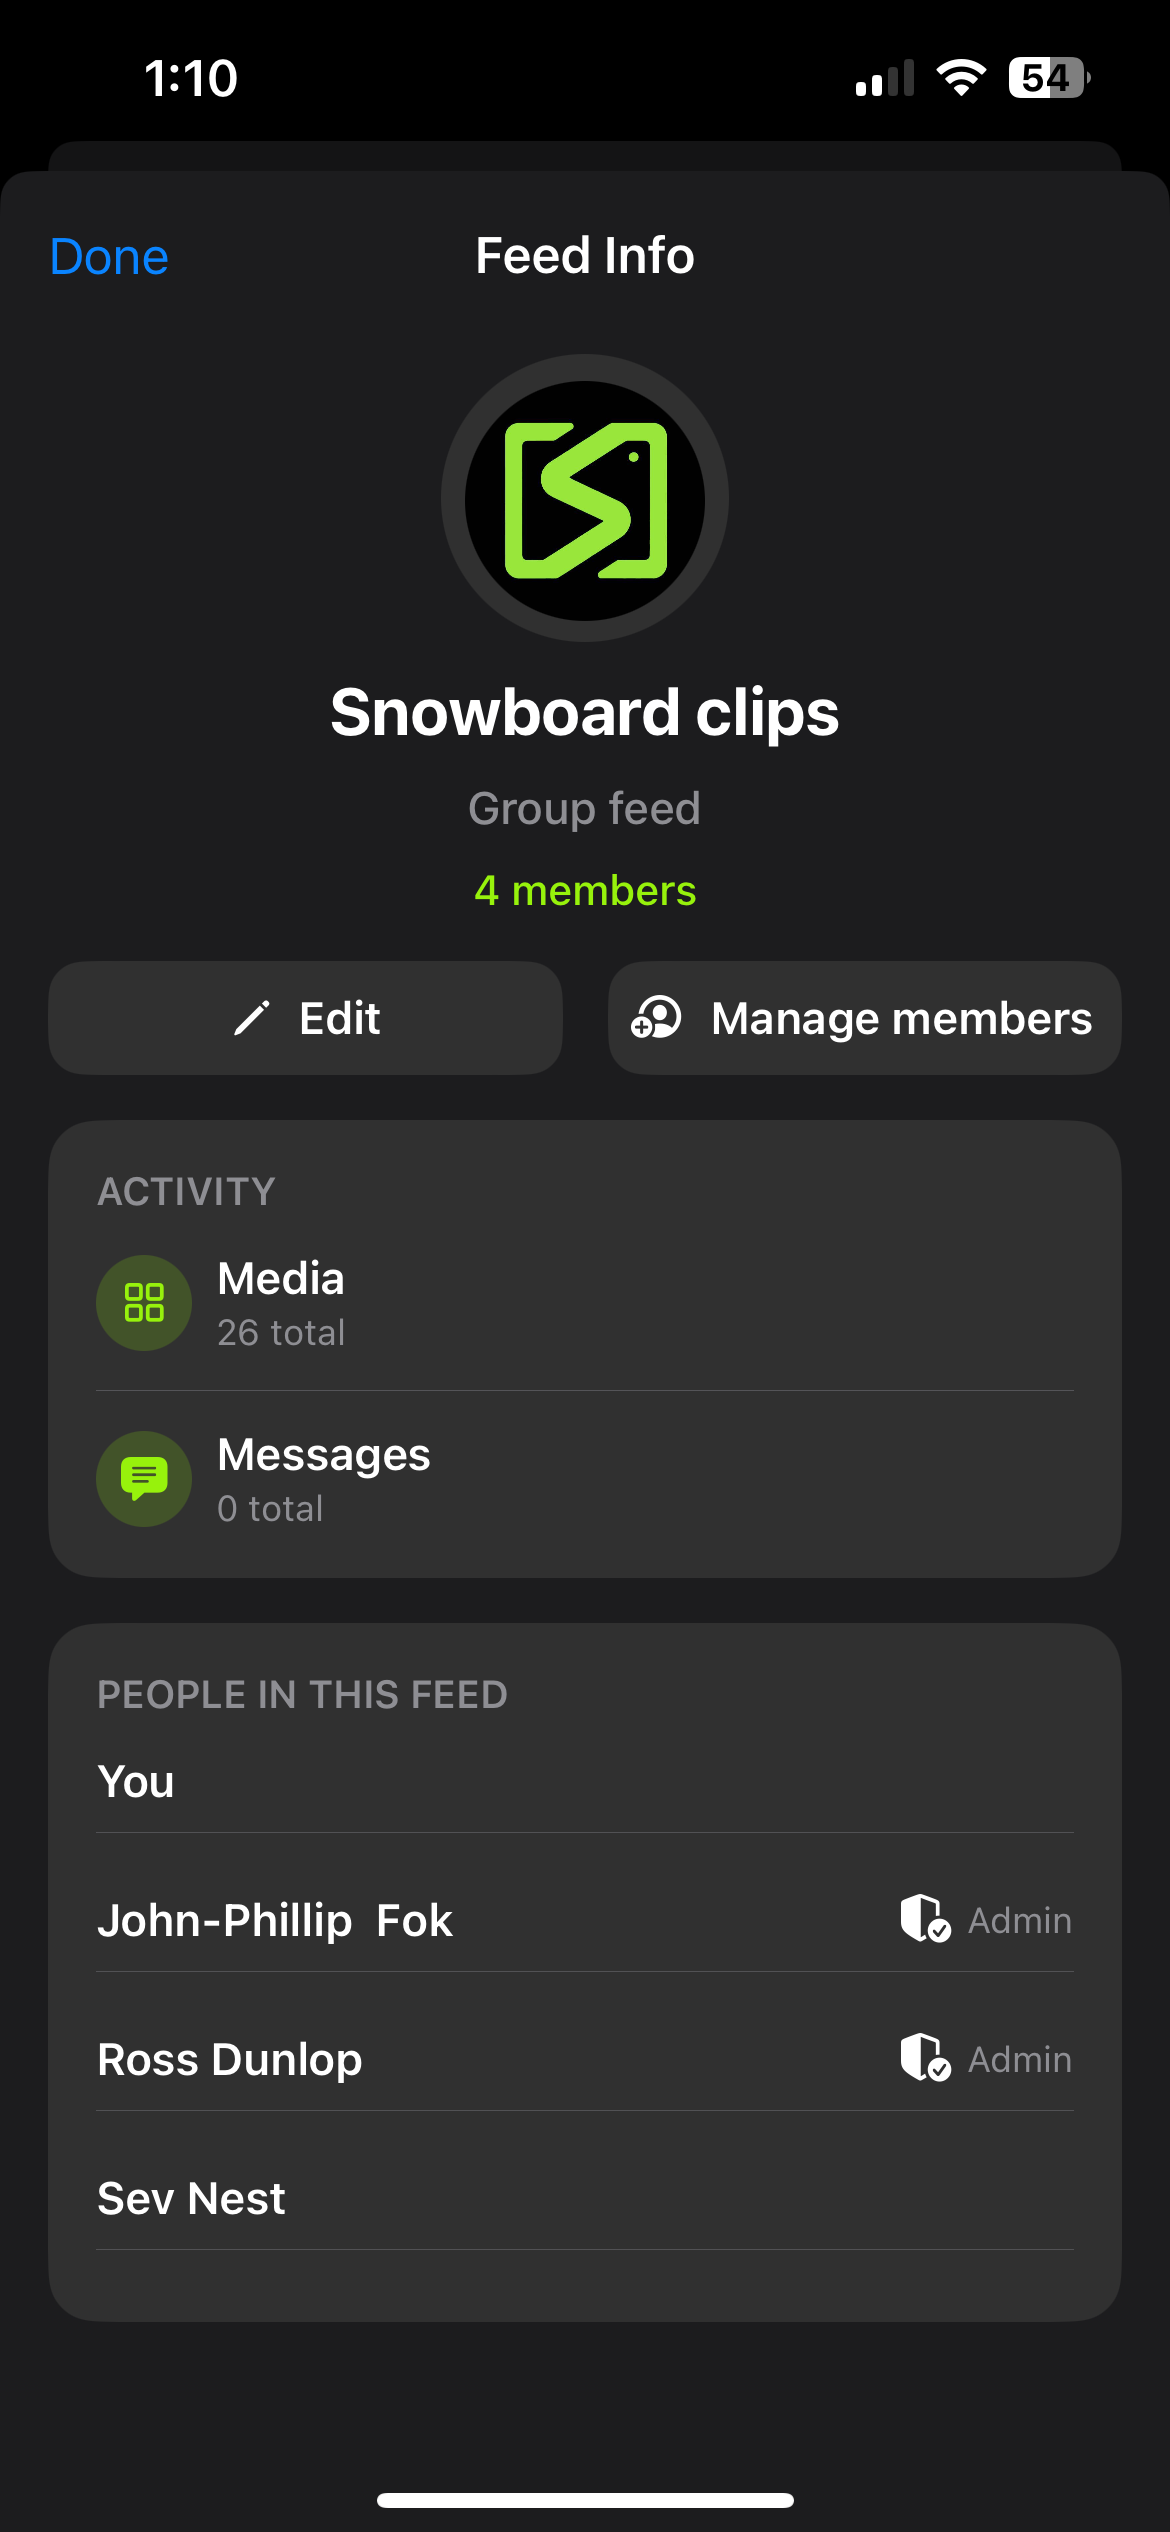
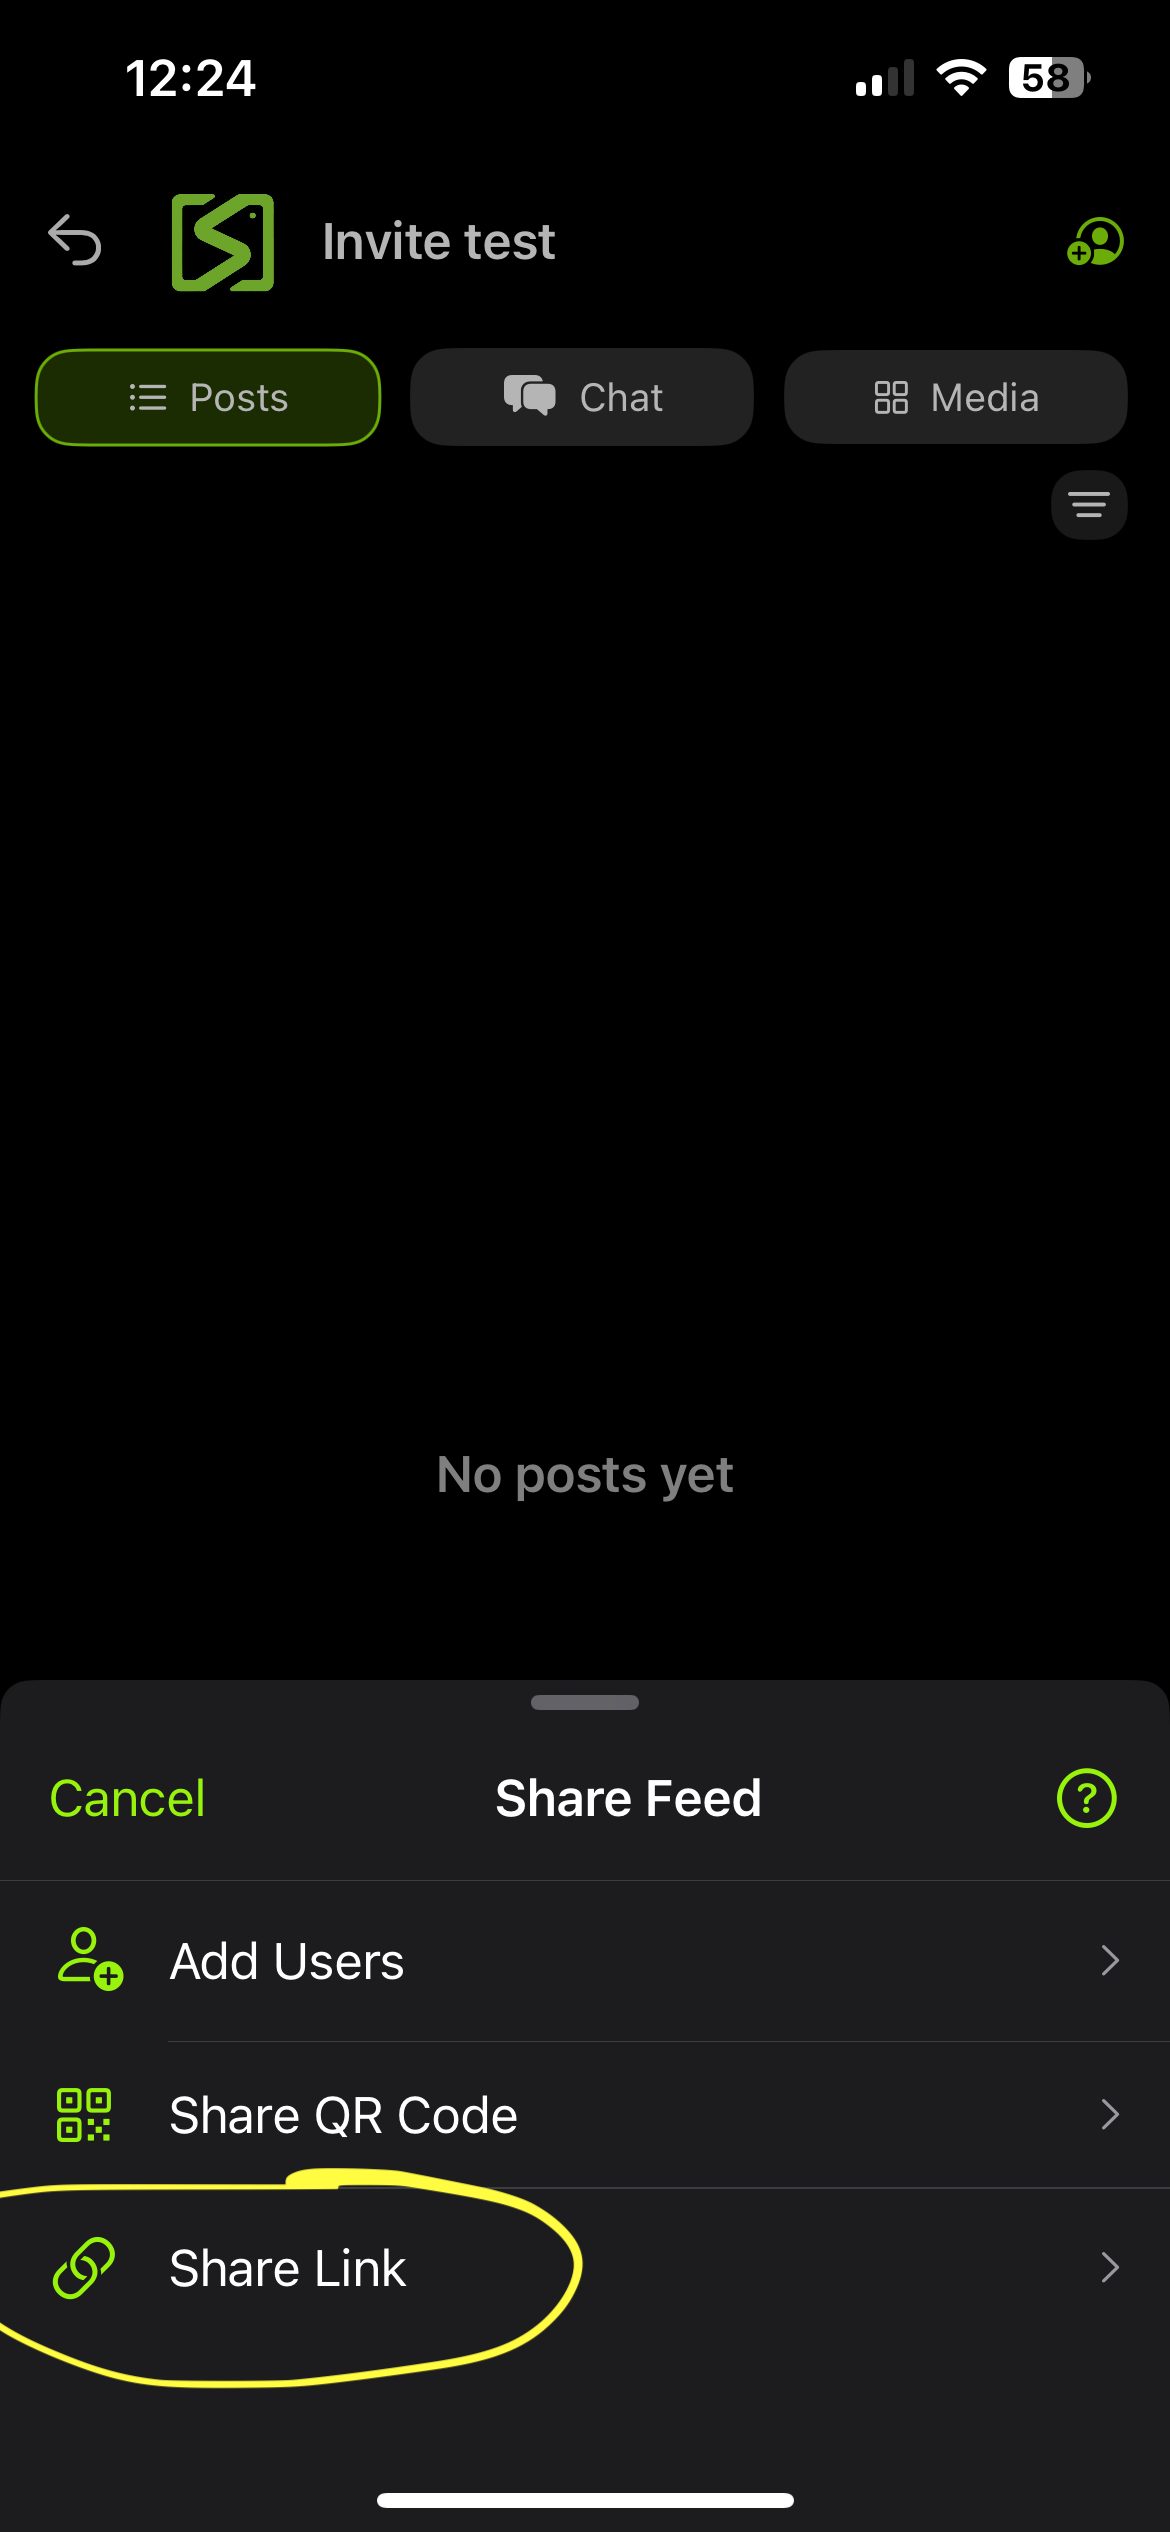
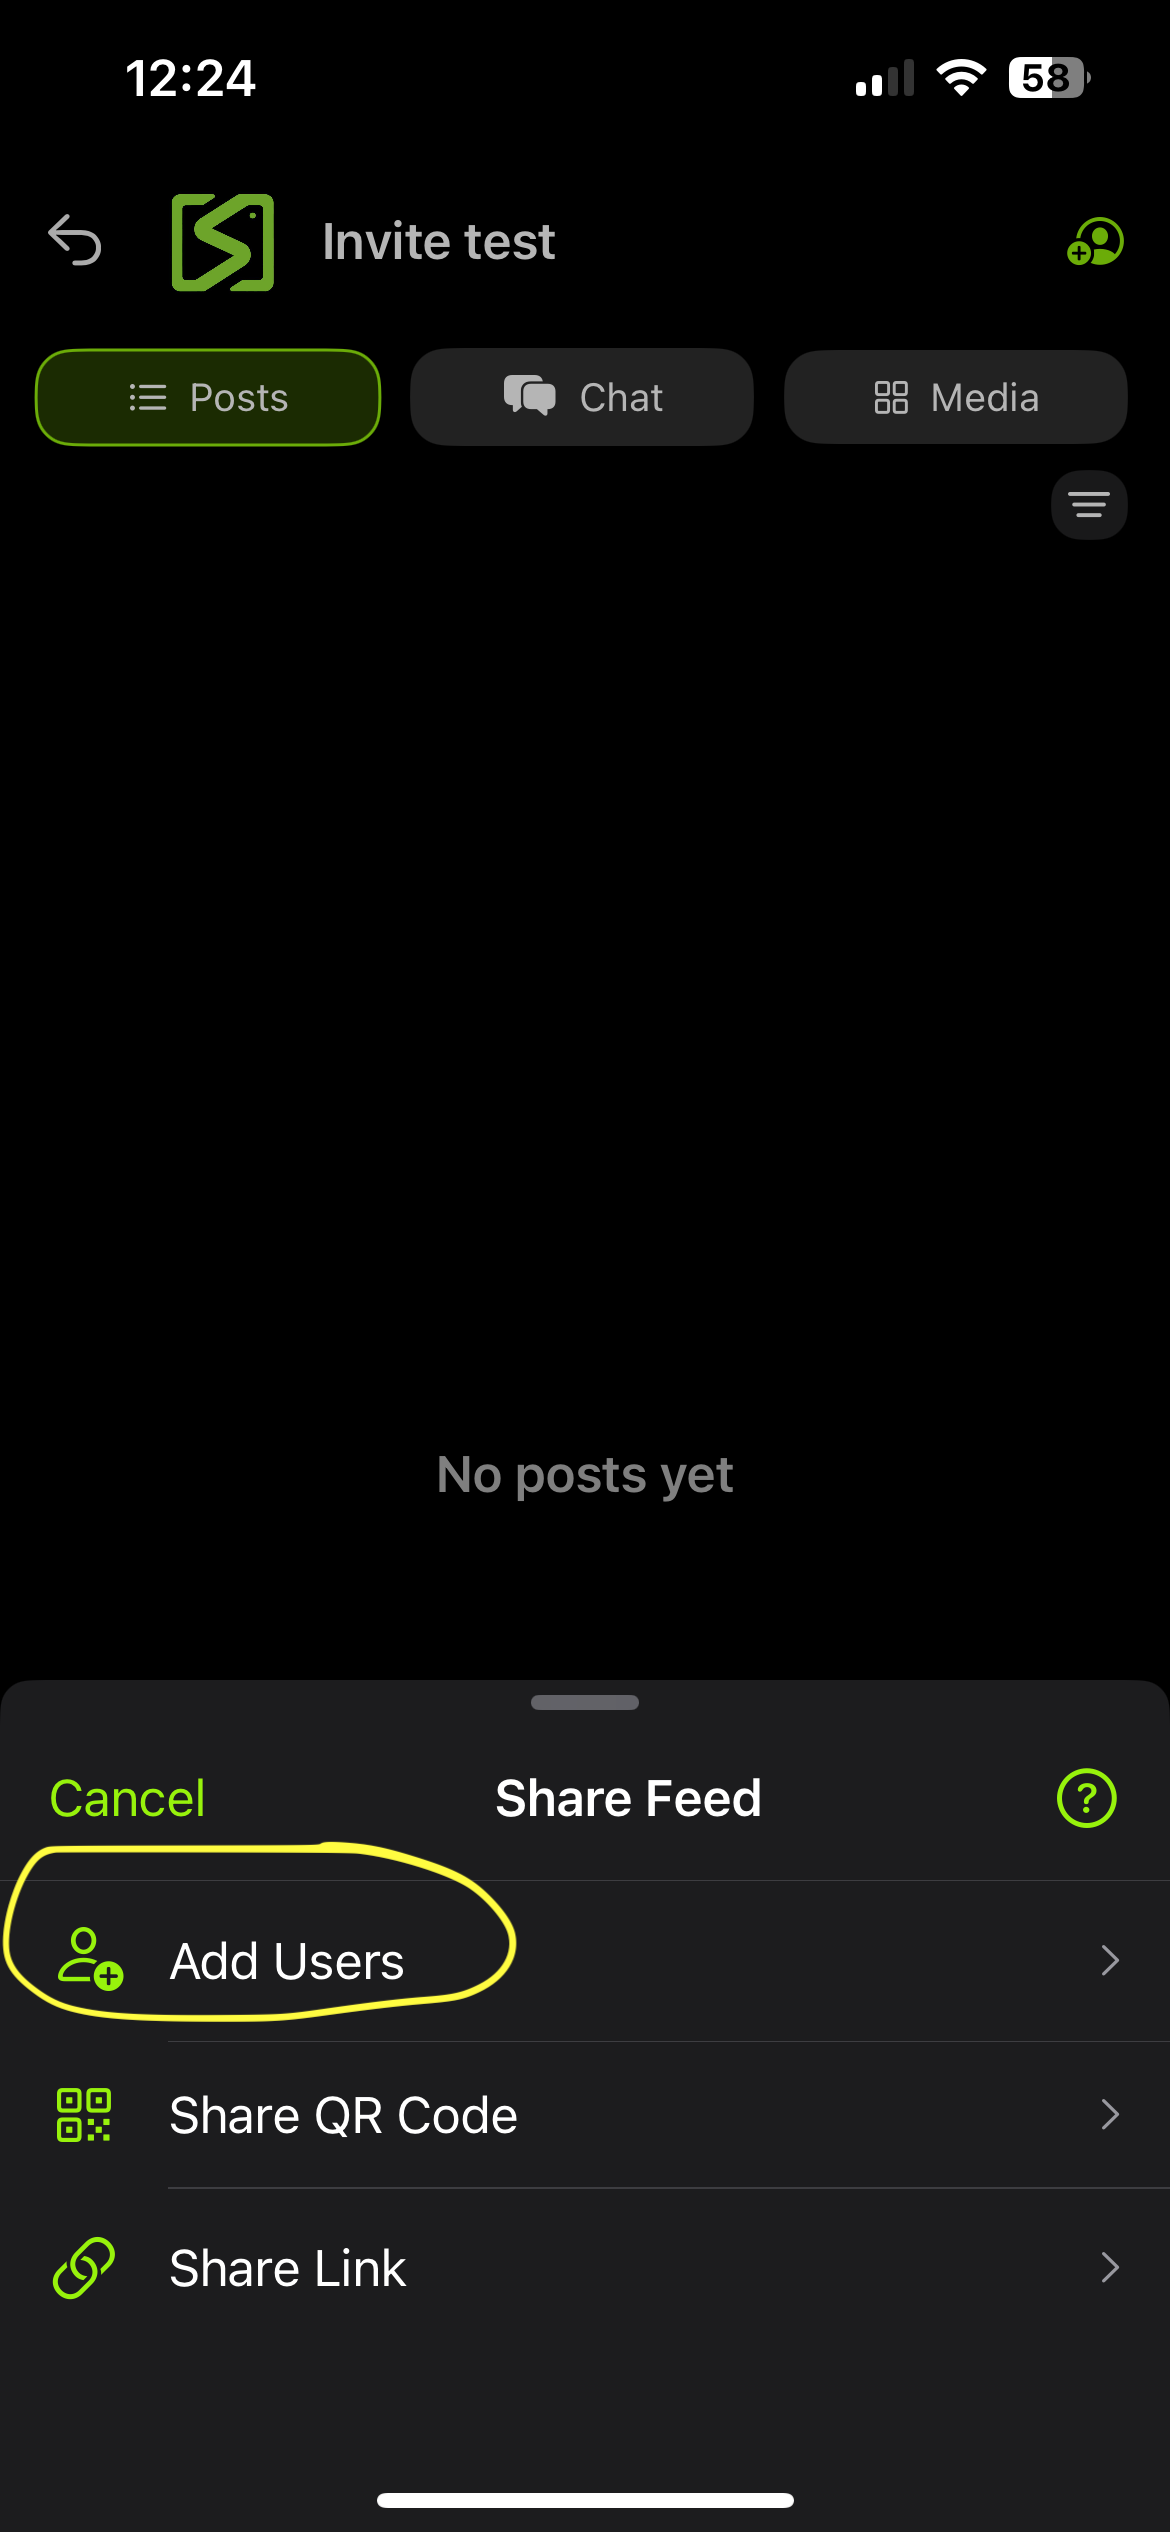
- Open the feed and tap the feed title at the top to open feed settings.
- Tap Invite or Add Member.
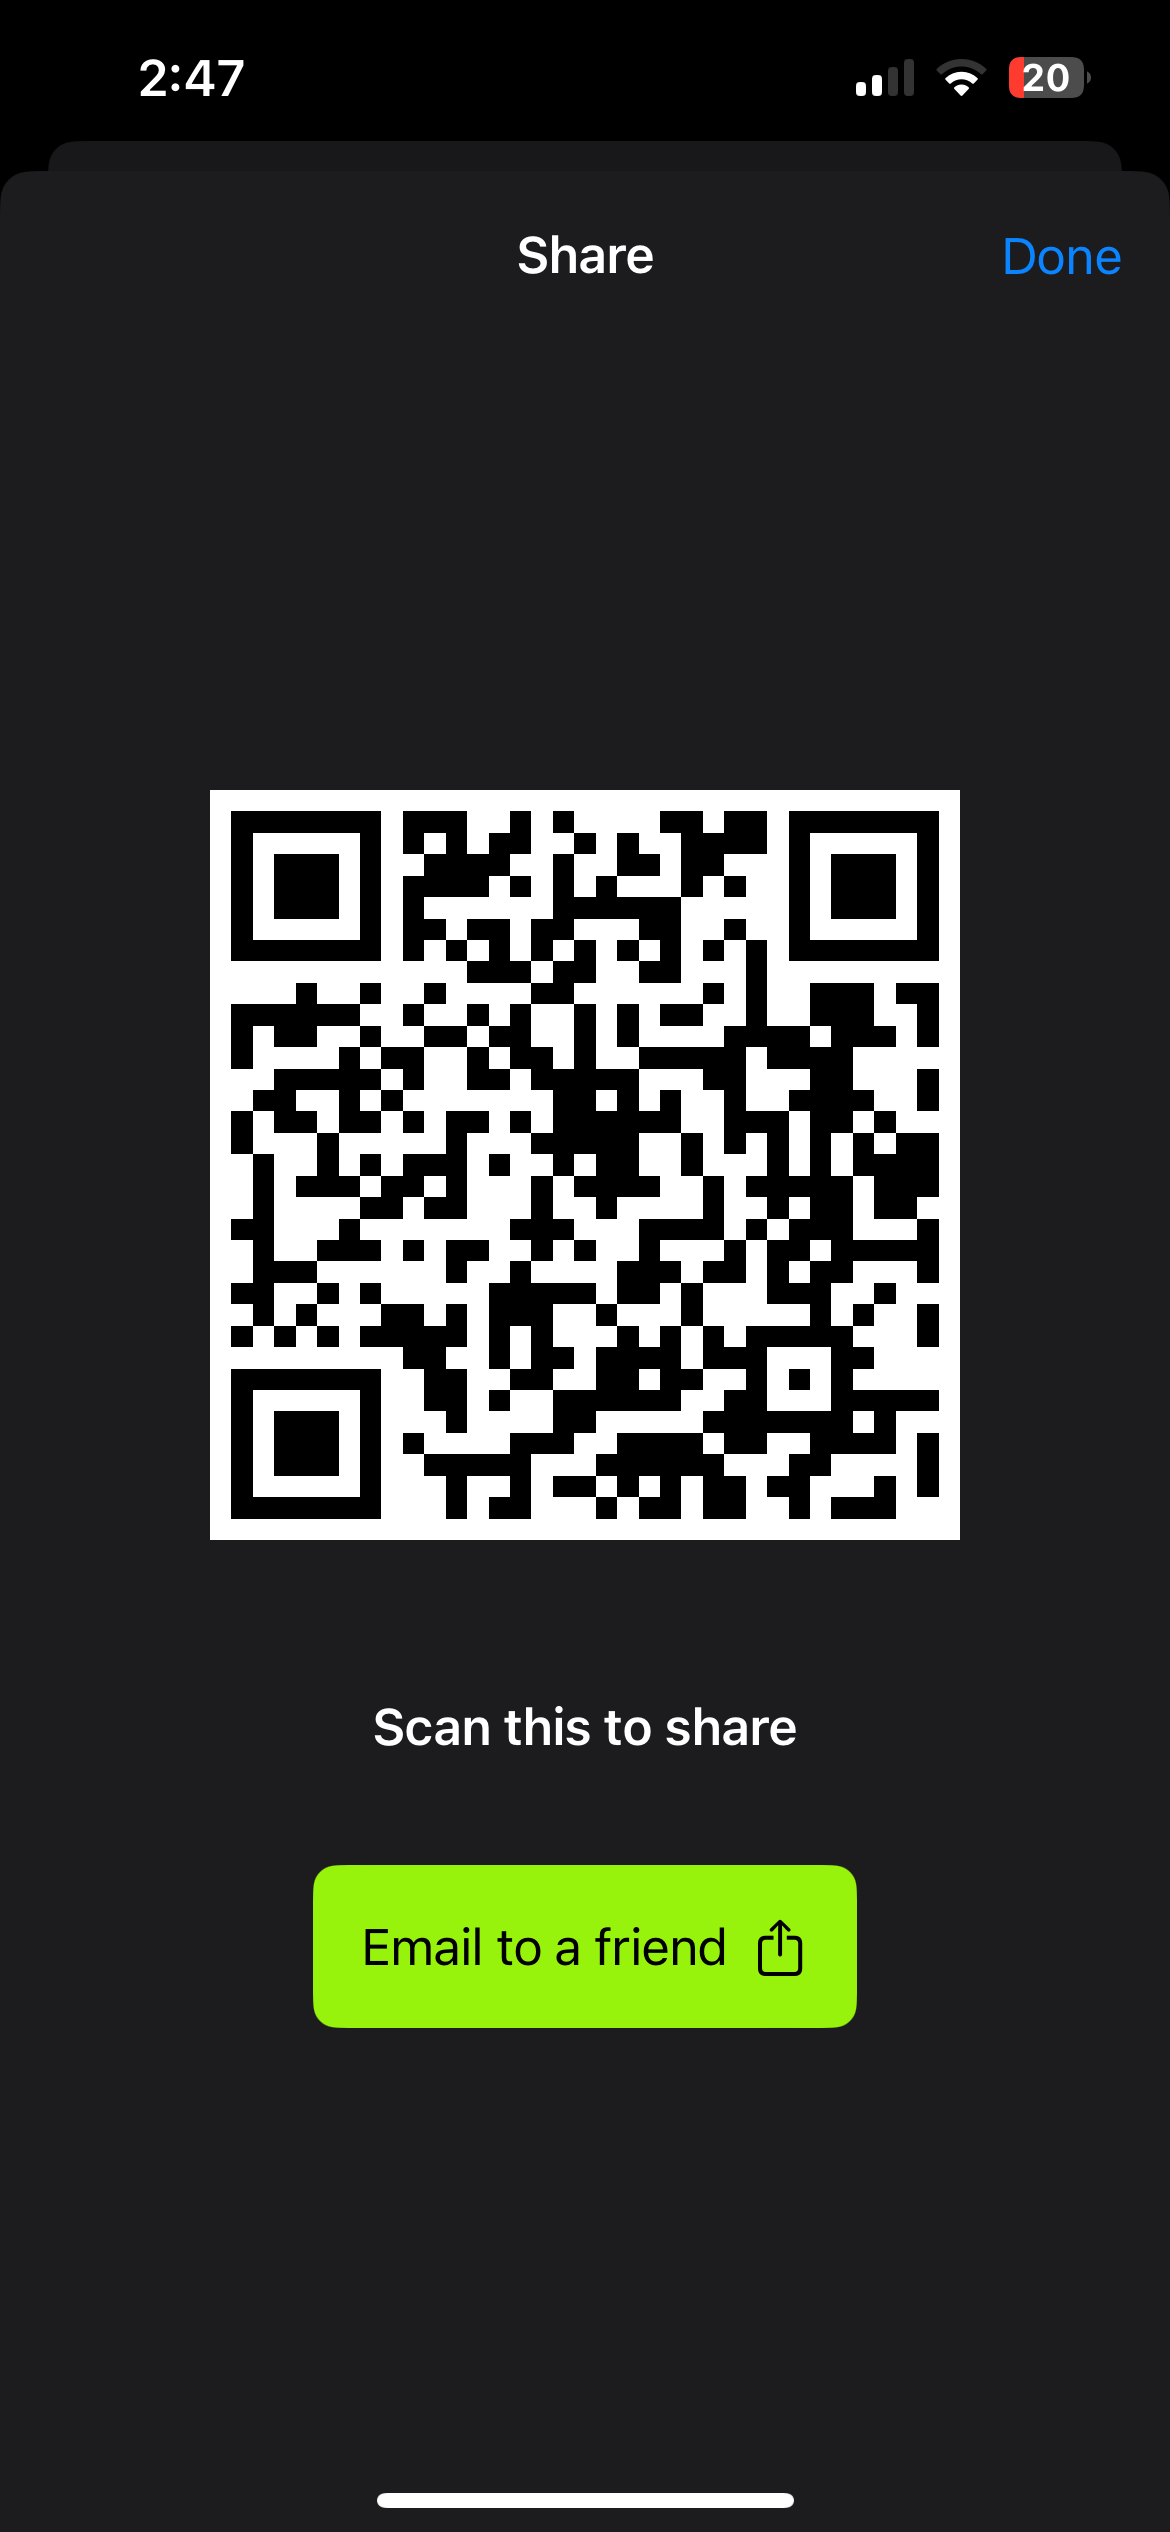
- Use the QR code to let them scan and join instantly, or copy the invite link and send it.
If they have not downloaded the app yet:
- Open feed settings and tap Invite or Add Member.
- Select the email option and enter their address.
- They receive a link to download the app and land straight in the feed.
Coach Them
Remotely.
With clients in their feeds, here is how you deliver coaching, in person or remotely, and keep them progressing between sessions.
5.1
Add Feedback to a Video
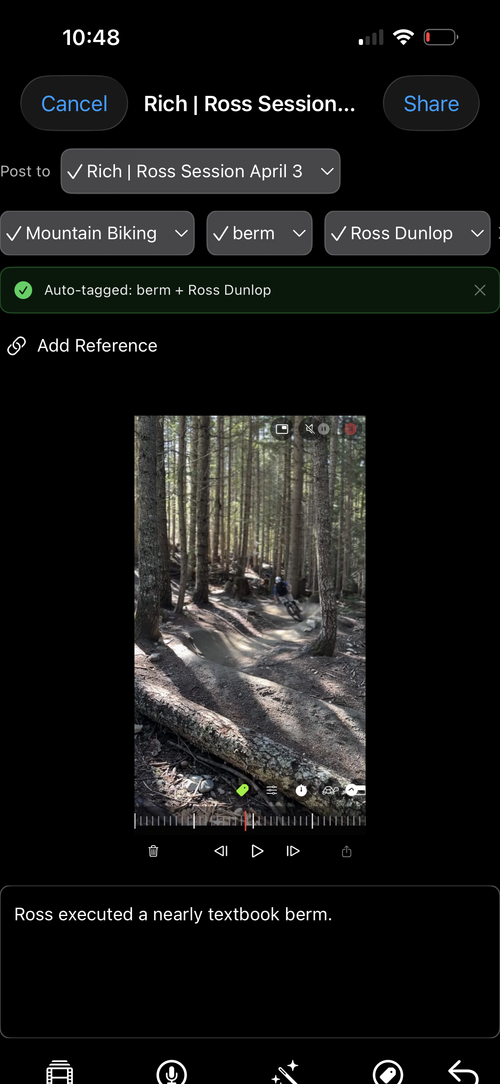
When posting a video to a feed, select Add Feedback to layer coaching notes onto the clip before sharing it.
- Select Add Feedback when posting a video to a feed.
- Make final edits and write or transcribe a description.
- The app can auto-tag the sport if the feed already has one set.
- Post it so the client sees the clip with your coaching notes attached.
5.2
Voice Tagging
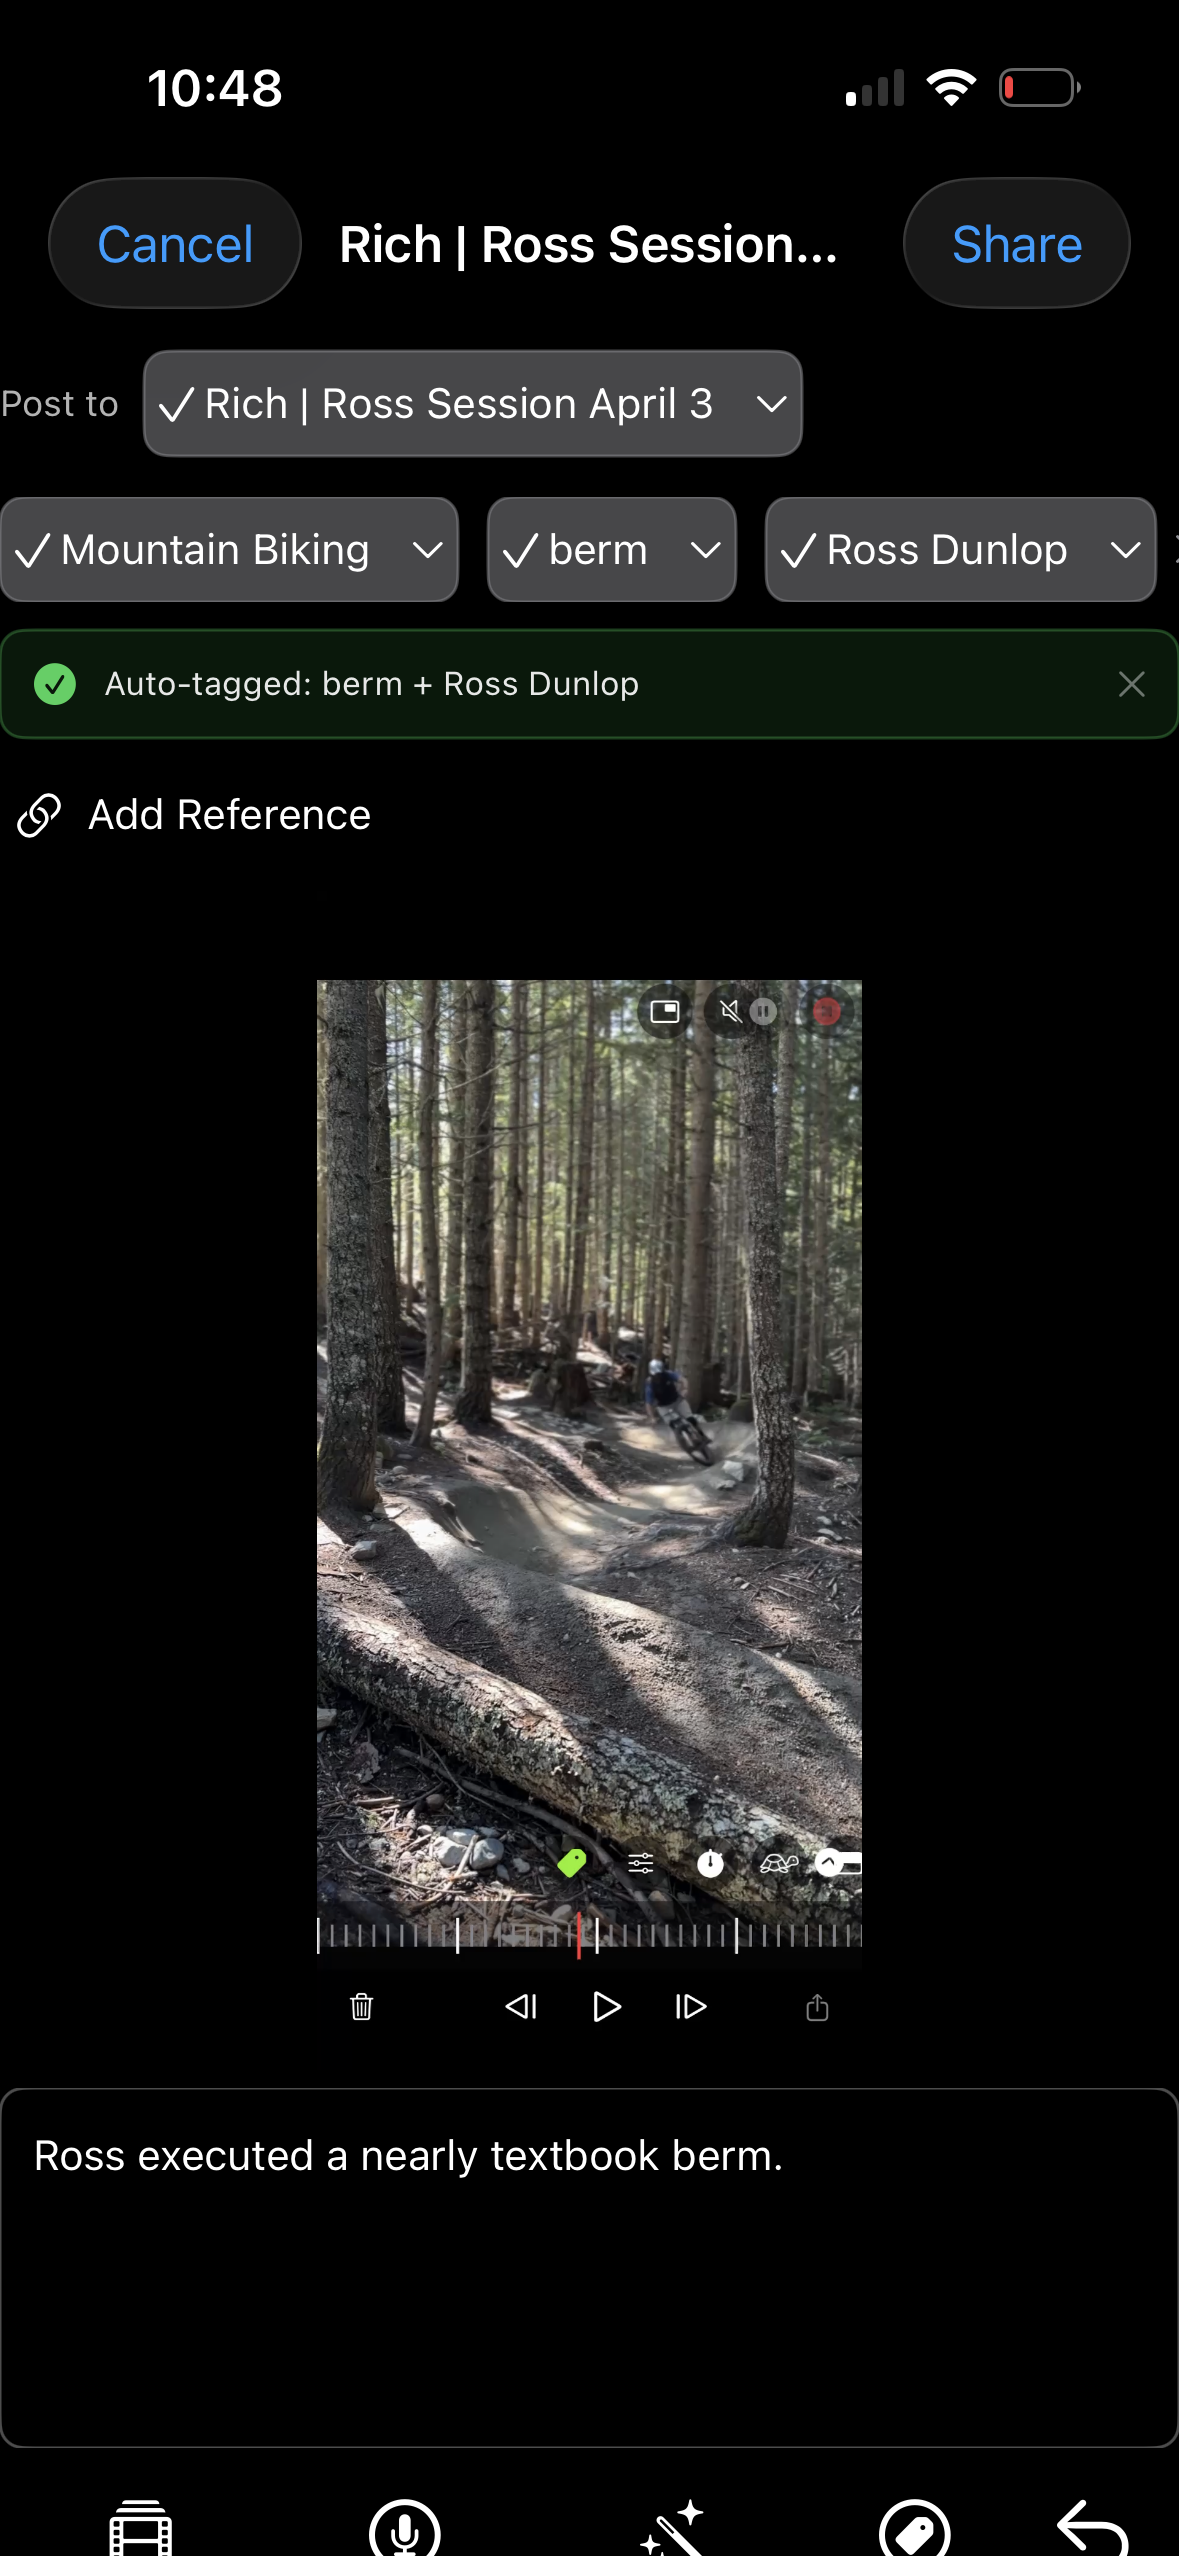
Narrate while you film, and sportsense auto-tags the actions and users straight from your audio, with nothing to type afterwards.
- Record with the sportsense camera while calling out the client and what they are doing.
- When you post the video, the app transcribes your voice and creates the tags automatically.
- Tags make it easy for clients to find their clips and for you to reference moments later.
5.3
Screen-Record Feedback
Giving feedback on a clip? Screen record it in the app, and sportsense files it to the client's feed with a transcript and summary.
- While working in the analyzer, press the screen record button to capture your screen and voice.
- Stop when you are done, and the clip is saved into the feed automatically.
- The app transcribes the audio and summarises the key points as text alongside the video.
- The client sees the full clip and the written summary in their feed for later review.
5.4
Keep Them Progressing Between Sessions
The feed stays open between visits, so coaching does not stop when the session ends.
- Clients send clips from their own sessions, and you drop feedback back into the feed.
- Everything stays in one place, building a clear record of how each client is improving.
- That is the loop that lets you keep clients progressing without adding hours to your in-person schedule.
|
Free to Start