
Skateboarding
get set up with
sportsense.
A session or a contest fills a camera roll nobody can search, and clips sent by text or parked in a shared drive are lost by the next session. sportsense keeps capture, feedback, and sharing in one place, on iPhone and Android, and this guide covers filming, reviewing the attempt, and getting it back to the skater before they leave the park.
New here? Start with setupThree Steps,
Every Session.
The setup at the bottom of this page takes about ten minutes, and this loop is what it unlocks every session after.

Capture
Film in the sportsense camera, or pull in what you already shot on your phone or a contest camera. Jump to Capture

Review
Open the clip in the analyzer, slow it down, draw on it, and record your feedback over it. Jump to Review

Capture
Video.
Skaters leave cameras running for hours, and filming into sportsense, or importing what you already shot, files every clip against a skater and a date the moment it lands.
2.1
Film with the sportsense Camera
- Open the sportsense camera and record the attempt.
- Set the feed in the Posting To selector at the top of the camera, and every clip you record goes straight into it.
- As you film, say the skater's name and what they are trying, for example "Jordan, backside 50-50 on the down rail".
- When you post, the app transcribes what you said and tags the skater from your voice, then files the clip by skater and date. The sport comes from the feed.
- Anything it cannot place lands in an Untagged group.

2.2
Bring in Clips You Already Have
Footage already on your phone, shot on a contest camera, or screen grabbed from a livestream, works the same way once it is in your library.
- When you are in a feed, tap the plus in the bottom right to add media from your phone or straight from your library.
- Video added to a feed is organized automatically by the audio in the clip.
- Filter by Type, User, and Date in the top menu to sort your library, including by tags.
Review &
Analyze.
Slow motion on a phone shows a skater what happened. The analyzer shows them why it happened.
3.1
Slow It Down and Draw On It
- Tap a video to open it in the analyzer, from either your library or a feed.
- Find the moment with the haptic scroller, then step frame by frame.
- Use the drawing tools to mark the shoulders, the board angle, or the line into the feature at the frame where it goes wrong.
- Record your voice over the clip while you draw, and the app transcribes it so the skater gets the words as well as the audio.

3.2
Compare Two Clips Side by Side
- Open a clip in the analyzer, then select the black and white square in the bottom menu to turn on compare and pick the second clip.
- Swipe left or right to move between library videos while you are in the analyzer.
- Line the two clips up on the same moment using the haptic scroller, then go frame by frame to hold them together.

3.3
Skeleton Overlay and Joint Angles
- Turn on the skeletal overlay in the analyzer and the app tracks the joints through the clip.
- Tap a joint to read the angle at that frame, and step forward to watch it change through the movement.
Share to a
Feed.
Feedback given at the park is heard once and half remembered by the drive home. Posting the clip into the skater's feed with your notes attached turns it into something they can go back to on their own.
4.1
Three Ways to Share a Clip
- From the analyzer: once you have recorded your feedback, the app opens share on its own. Choose the feed you want it to go to, or select the + in the top right if you do not have one yet.
- Direct from the library: long press a video and select share in the bottom left.
- Within a feed: tap the chat button, then the attach button in the bottom right.
You can also post straight from the camera, which is the fastest way to work through a contest.
4.2
Feedback When You Post
- Post a video to a feed and the feedback is generated for you, written from the transcript of what you said in the clip.
- Make any final edits to the video, then adjust the description or dictate more with Voice to Text.
- Skaters are tagged from your voice or from the audio in the video, and you can always select tags manually, which is what the app prompts for today (the post here is mocked up with draft tags).
- Give the post a title you would search for later, because the media grid truncates at roughly 25 characters.
Getting
Set Up.
New to sportsense? A feed is a private group where video and feedback move between a coach and their skaters. Feeds are closed, which is what makes them workable with skaters under 18.
1.1
Download & Sign Up
- Download sportsense from the App Store (iOS) or Google Play (Android) using the buttons below.
- Open the app and tap Sign Up.
- Enter your name, email address, and a password.
- Verify your email if prompted, then log in.
1.2
Create a Feed
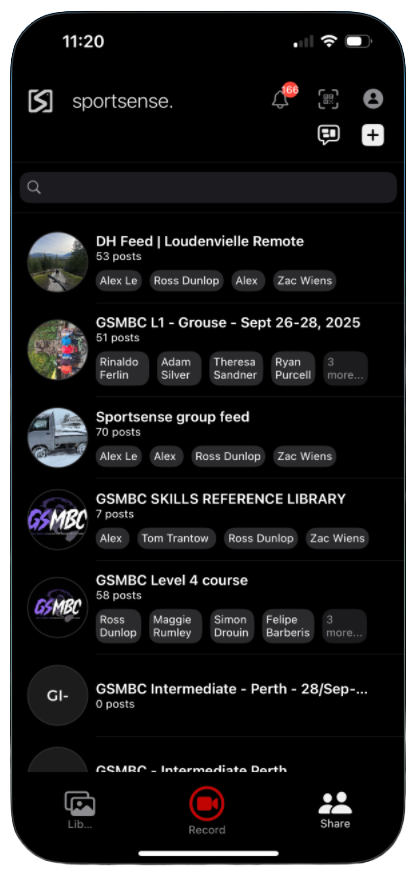
- Tap the Share tab at the bottom of the app (the rightmost icon).
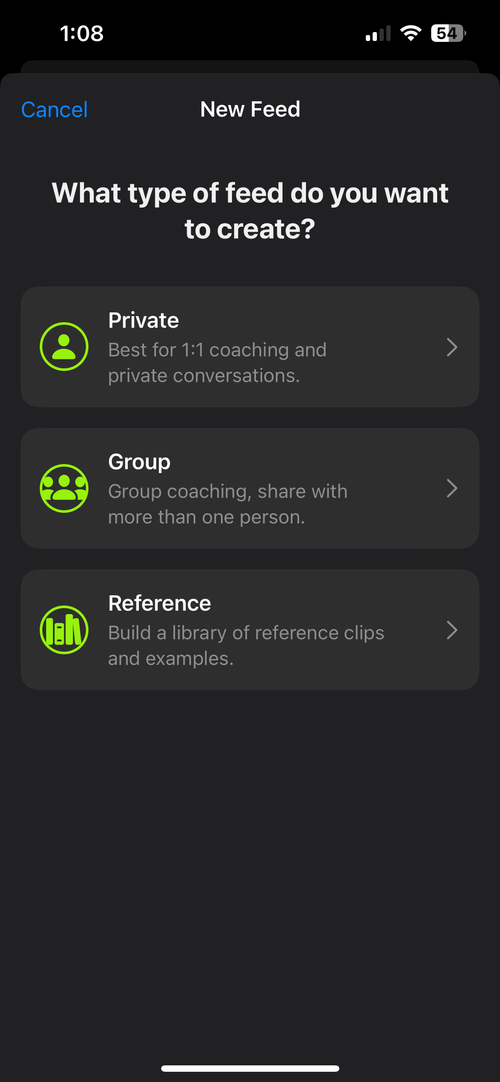
- Tap the + button in the top right corner to create a new feed.
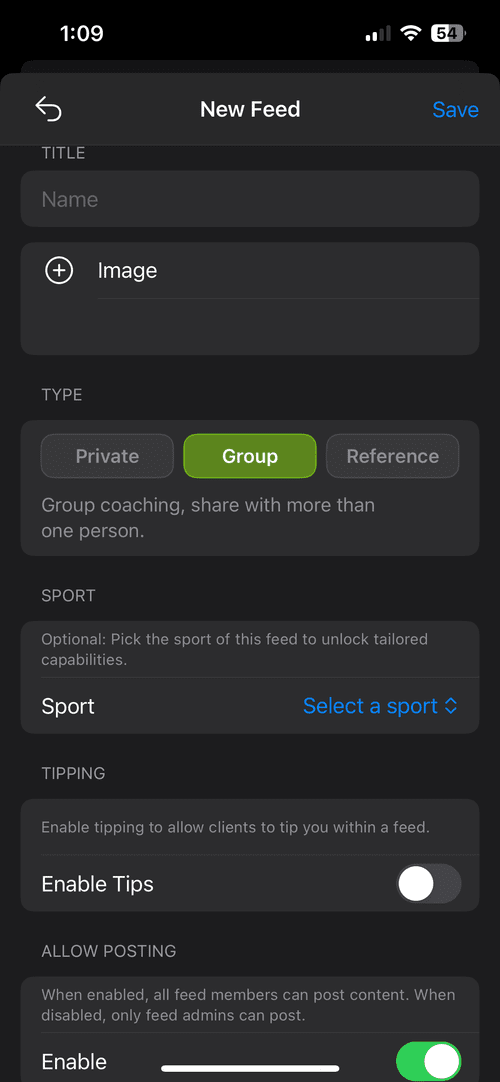
- Give the feed a name.
- Optionally add a cover image, and set the sport so everything posted to the feed carries that tag without anyone adding it.
- Tap Create.
One feed per session or per skater both work. A session feed suits a contest or a camp where everyone benefits from seeing the same feedback, and an individual feed suits a skater you are tracking across a season.
1.3
Add Your Skaters
If they already have the app:
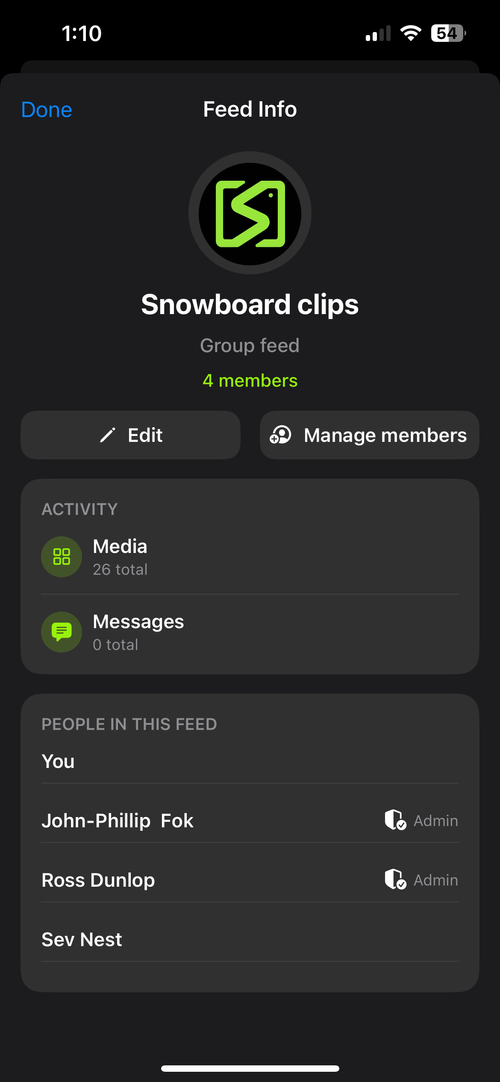
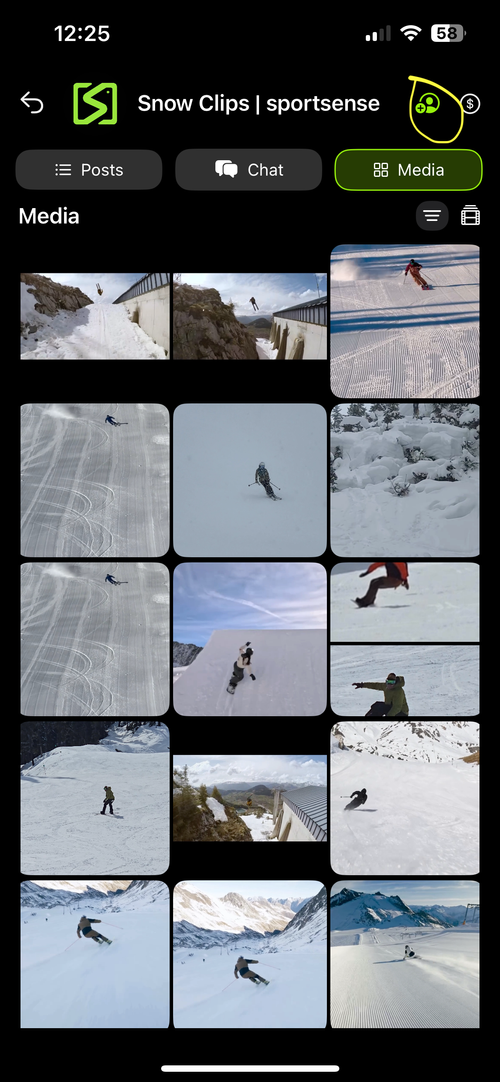
- Open the feed and tap the feed title at the top to open feed settings.
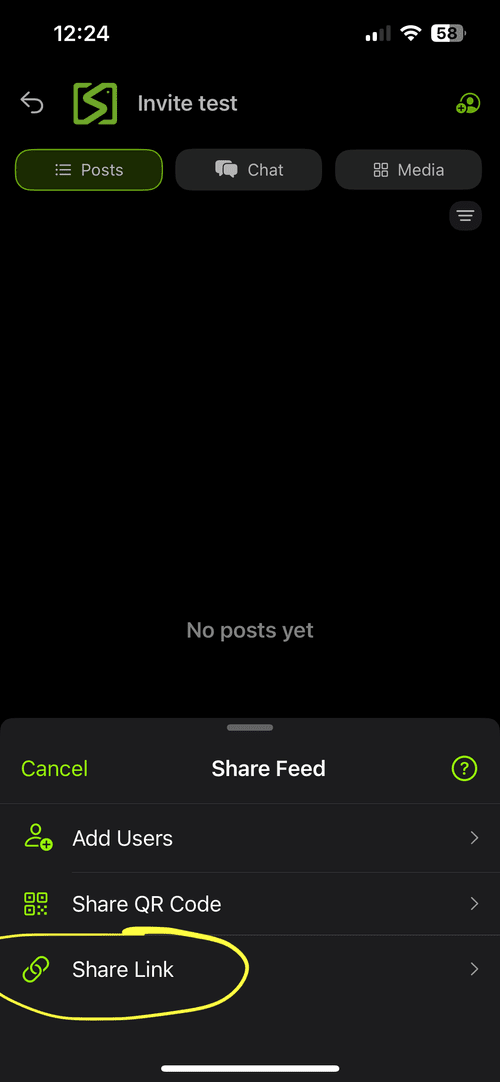
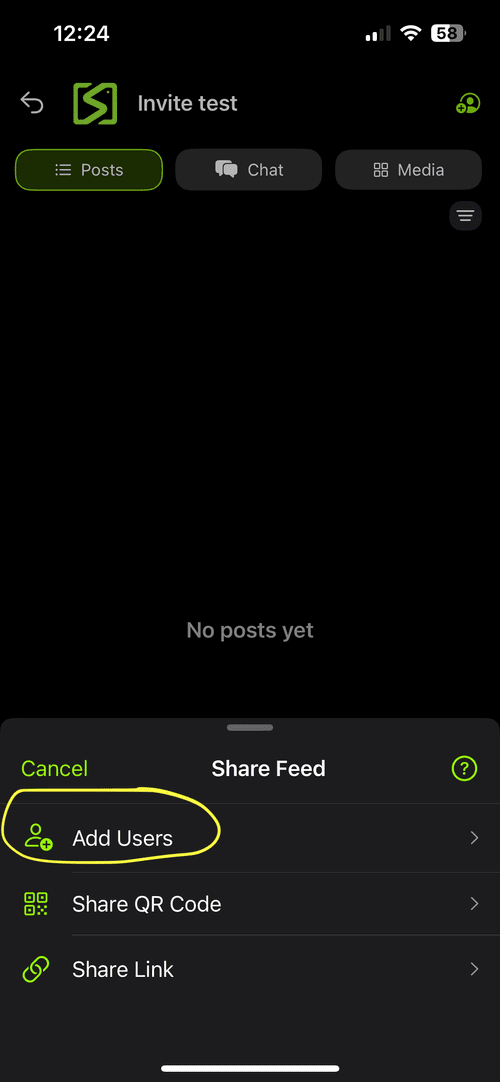
- Tap Invite or Add Member.
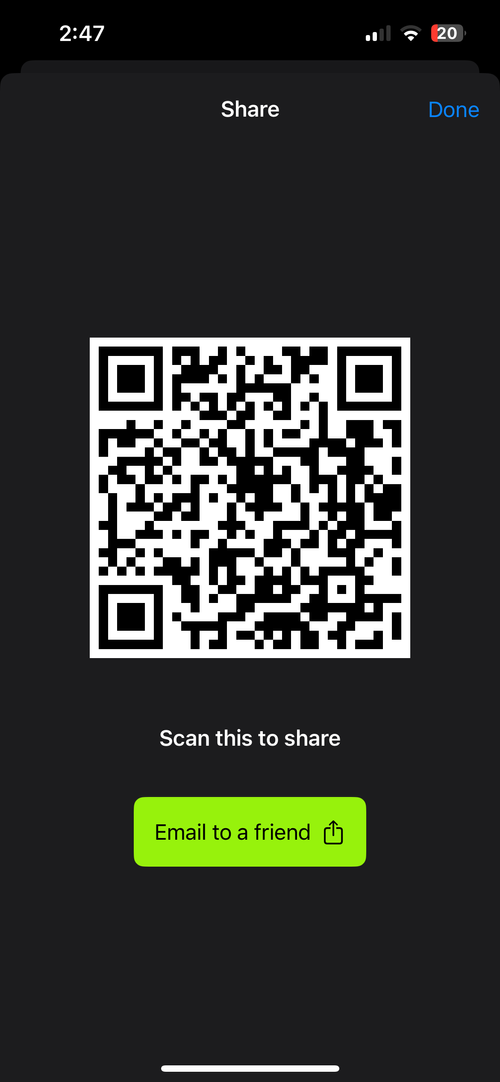
- Show the QR code and let them scan it to join, or copy the invite link and send it.
If they have not downloaded it yet:
- Open feed settings and tap Invite or Add Member.
- Select the email option.
- Enter their email address and send the invite, and they will get a link to download the app and join the feed.

Free to Start