
 |
|

get set up
for the season.
Film the run, speak the feedback, and the clip tags itself and lands in the athlete's feed already filed, so they can watch it on the chair before the next run and you never sort a camera roll again. This guide covers the loop you run every session, how to claim the CASI pro deal, and the ten minutes of setup before the first session.
CASI member? Claim the pro deal

Three Steps,
Every Session.
The setup at the bottom of this page takes about ten minutes, and this loop is what it unlocks every session after.

Film
Film the run in the sportsense camera, say who it is and what they are working on, and the clip tags itself. Jump to Film
Review
Put two runs side by side, draw the angle, and step through it frame by frame. Jump to Review
Share
Post it to the athlete's feed with your feedback attached and the tags already on it, and they watch it on the chair. Jump to Share
Film the Run.
Speak the Feedback.
Say the athlete's name and what you saw as you film. sportsense transcribes it and tags the clip to the athlete and the skill from your voice, so the sorting that used to take an evening happens while you record.
2.1
Film with the sportsense Camera
- Open the sportsense camera.
- Select the feed in the Posting To selector at the top of the camera, and every clip you record goes to it.
- Film the run and say who it was and what they were working on, for example "Maya, toeside, late edge change".
- When you post, the app tags the athlete and the skill from your audio and files the clip by athlete, skill, and date. The Snowboard tag comes from the feed's sport.
- Anything it cannot place lands in an Untagged group, and you can pick the tags by hand from the post.
2.2
Bring in Clips from Another Camera
Footage from any other camera works the same way once it is in your phone's camera roll.
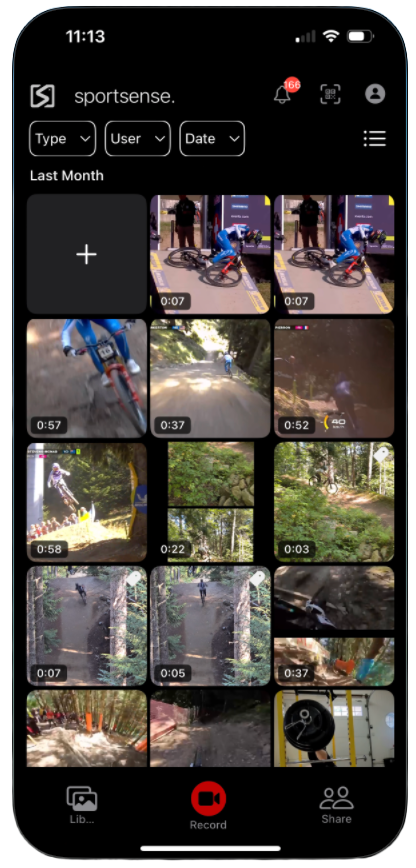
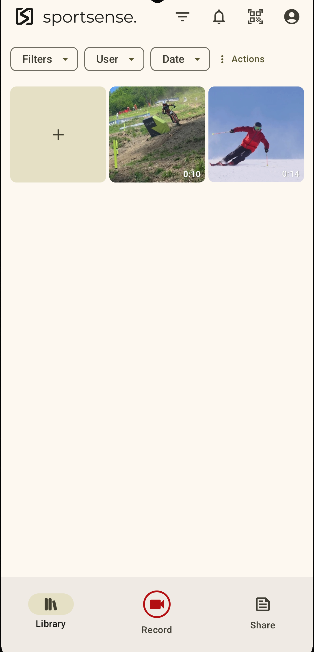
- Open the Library tab and tap the plus tile at the top of the grid to add video from your camera roll, or in a feed tap the plus in the bottom right.
- Video added to a feed is organized by the audio in the clip, the same as clips filmed in the app.
- Filter by Type, User, and Date in the top menu to sort your library, including by tags.
2.3
Find Any Run in Seconds
- Open the feed's Uploads tab. Every clip sits under its date, with its skill tag on the thumbnail.
- Use the filter in the top right to pull up every run one athlete rode, or every clip of one skill across the season.
- Use it on the chair to pick the two runs you want side by side, or at the end of the season to show an athlete what changed.

Review &
Compare.
Tap any clip to open it in the analyzer.
3.1
Compare Two Runs Side by Side
- Select the black and white square in the bottom menu to turn on compare, then pick the second clip.
- Line both runs up on the same turn with the haptic scroller, then step frame by frame.
- Use it for an athlete against their own run from earlier in the season, or against a reference clip in the feed.

3.2
Overlay with Ghost Mode
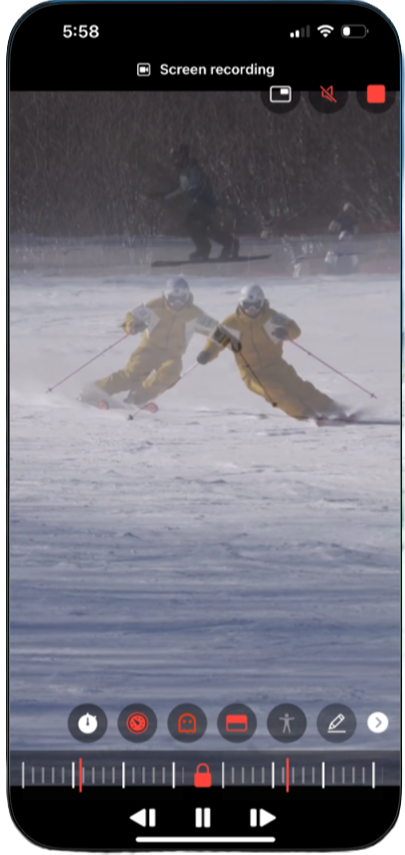
Ghost mode lays one run over the other instead of putting them next to each other, so a difference in line or timing shows up as separation.
- Turn on compare first, then select ghost mode.
3.3
Angles, Lines, and the Skeleton
- Draw on the frame to mark a line, an angle, or the point you want them looking at.
- Turn on the skeleton view to show joint positions through the turn, and tap a joint to read the angle at that frame.
- Screen record the breakdown with your voice over it and post that to the feed.

They Watch It
on the Chair.
Feedback given at the bottom of the run is heard once and half gone by the next lap. Posted to the feed with its tags, the clip and what you said stay there, so the athlete can take it into the next run and you can find it again in March.
4.1
Post It to the Athlete
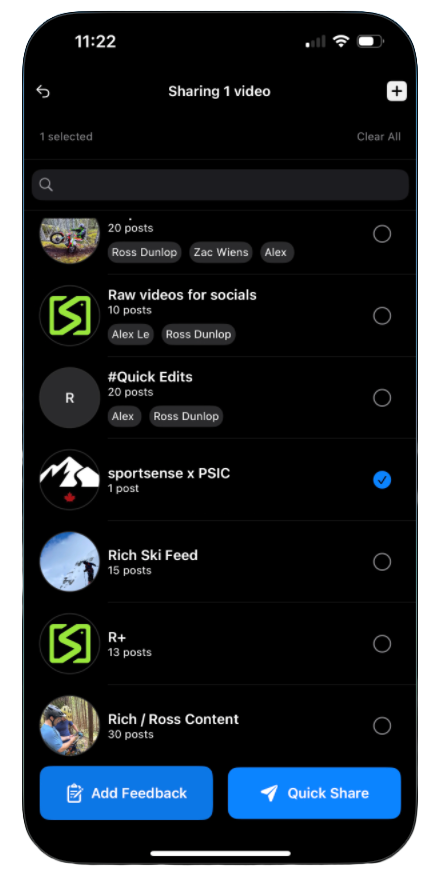
- Select Add Feedback when posting a video to the feed.
- Trim the clip, then write the note or dictate it with Voice to Text.
- The feedback is transcribed and posted to the feed with the clip and its tags, which the app has already set from what you said.
- You can also share from the library (long press a clip, then Share) or from inside a feed (the chat button, then attach).
4.2
Tags: Automatic First, Then Adjust
Most posts need nothing from you here. The app reads the athlete's name and the skill from what you said while filming or in the note, and files the clip under them.
- Athlete and Actions are set from your voice, and Snowboard comes from the feed.
- Open the tag sheet from the post to add or change anything: Actions (Carve, Short turns, Boardslide, Ollie, Spin and the rest), Terrain (Green to Double Black, Terrain Park, Glades), Camera angle and Snow condition (Powder, Hard Pack, Icy).
- Anything the app cannot place lands in Untagged, so nothing is lost, and you pick the tags by hand from the same sheet.
- Custom categories for your own program are set up in the web admin.

4.3
Working Around Mountain Signal
Posting a clip and watching one both need a connection, so plan around where the signal actually is.
- Where there is service on the hill, post between runs and the athlete can open it on the chair.
- Where there is not, post from the base or the lodge wifi that evening.
- Shorter clips post faster. A few seconds through the turns you are looking at beats a full top to bottom run on a weak connection.
This Is How
You Get Set Up.
Ten minutes at home or at the base. Claim the pro deal on the web first, then the app, then a feed. A feed is a private group where video and feedback move between you and your athletes.
1.1
Claim the CASI Pro Deal
CASI Level 1 to 4 members get 25% off the Pro plan with the code coachsmarter25, monthly or annual, through August 2027. With the code, Pro is $18.75 per month.
- Create your account on the web at app.sportsensetech.com/login, not in the App Store or Google Play, because the code cannot be applied inside either store.
- Choose the Pro plan, then monthly or annual billing.
- At the Stripe checkout, type coachsmarter25 into the promotion code field before you confirm.
- Download the app (next step) and log in with the same email, and your plan is already there.
1.2
Download & Sign Up
- Download sportsense from the App Store (iOS) or Google Play (Android) using the buttons below.
- If you claimed the pro deal, open the app and Log In with the email you used on the web.
- Otherwise tap Sign Up, enter your name, email address, and a password, and verify your email if prompted.
1.3
Create a Feed
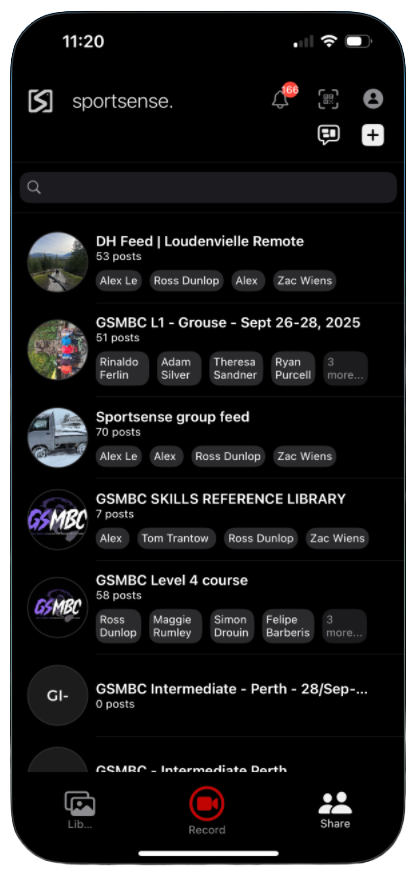
- Tap the Share tab at the bottom of the app (the rightmost icon).
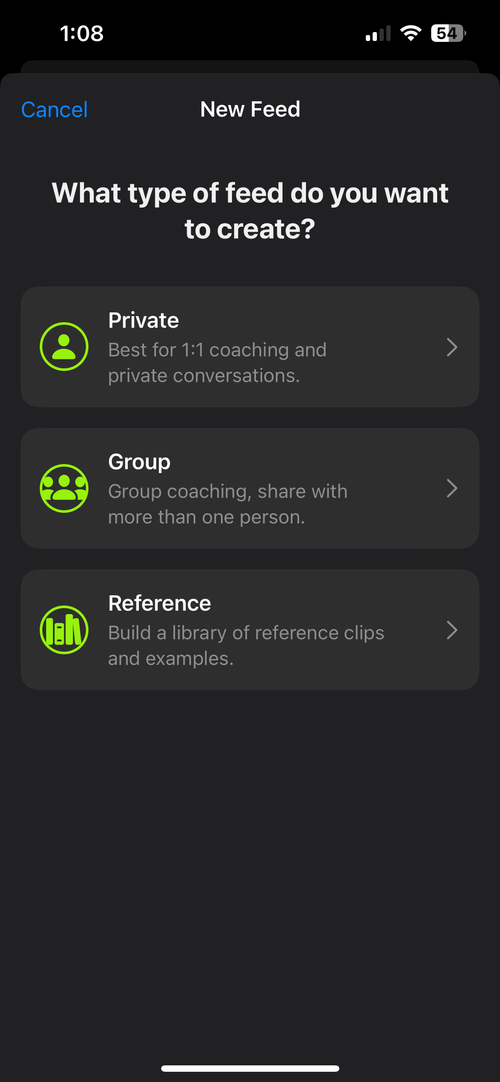
- Tap the + button in the top right corner to create a new feed.
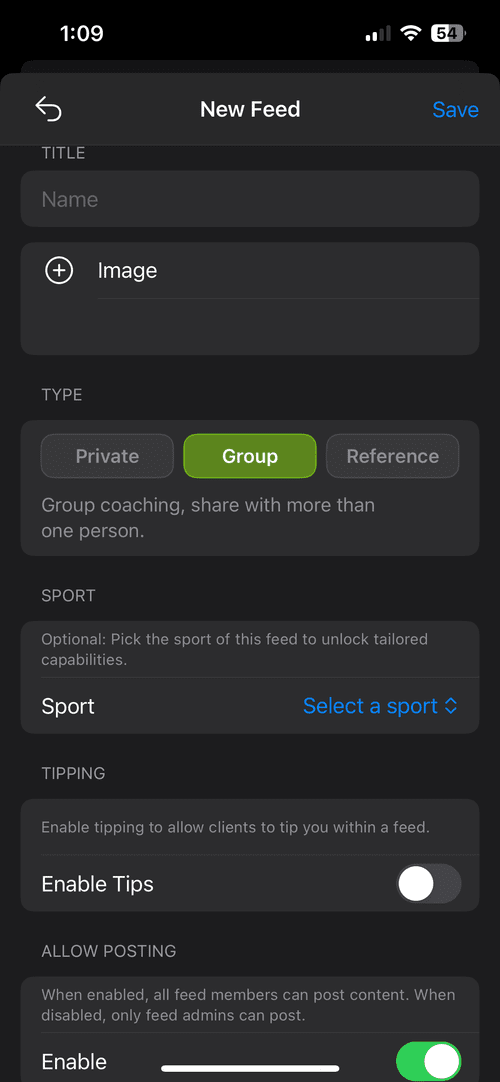
- Give the feed a name, and set the sport to Snowboard so every clip posted to it carries that tag.
- Tap Create.
1.4
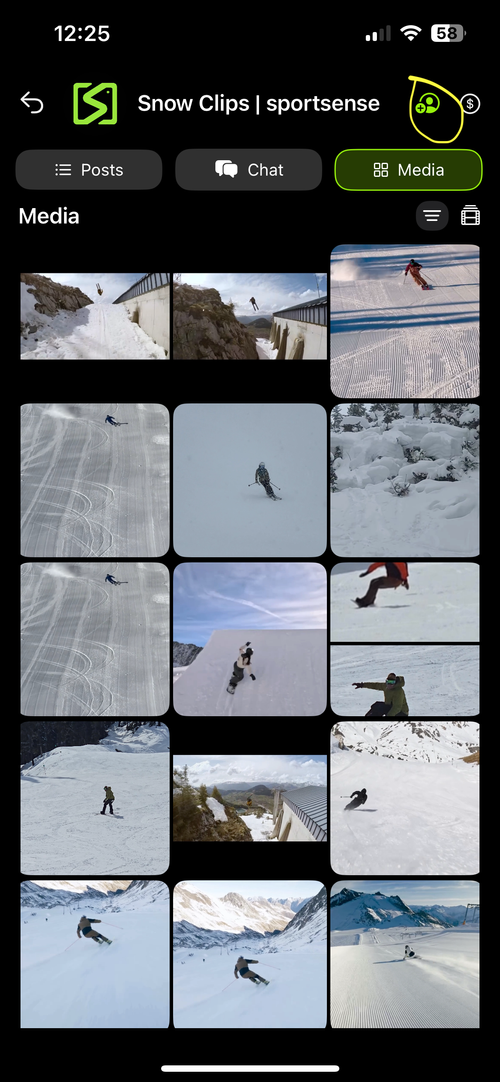
Add Your Athletes
If they already have the app:
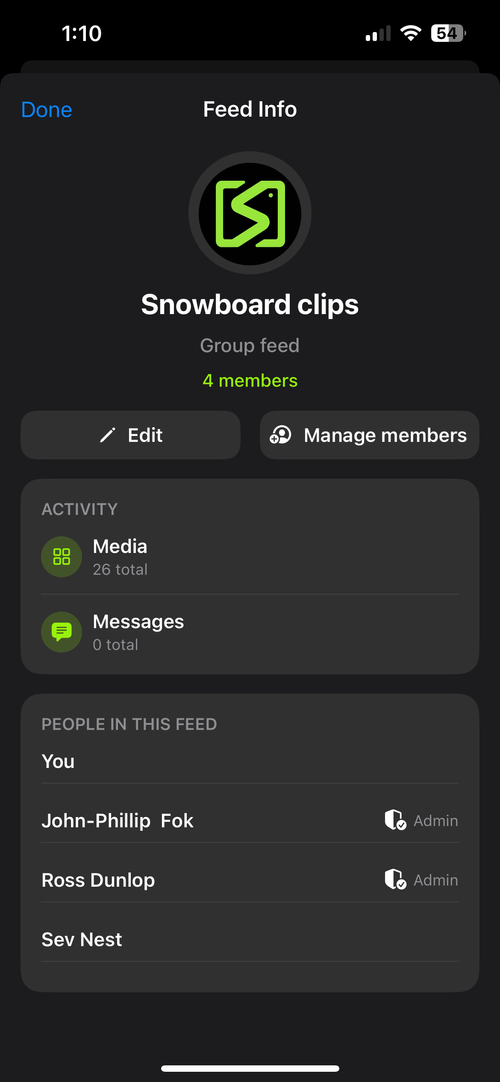
- Open the feed and tap the feed title at the top to open feed settings.
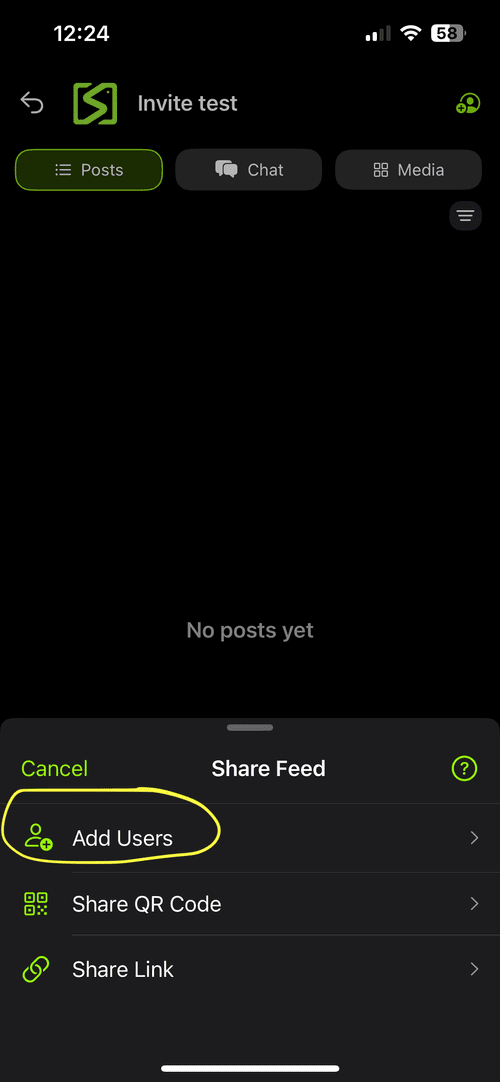
- Tap Invite or Add Member.
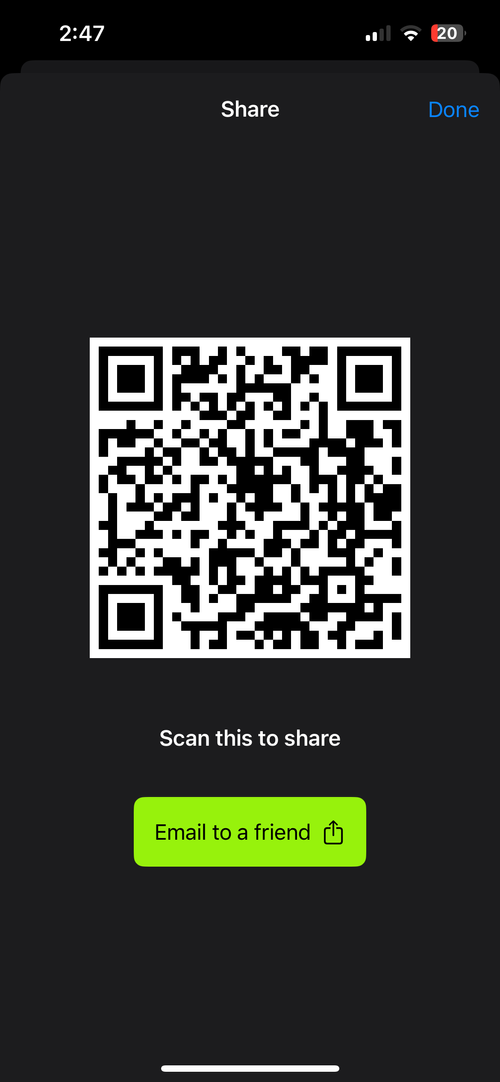
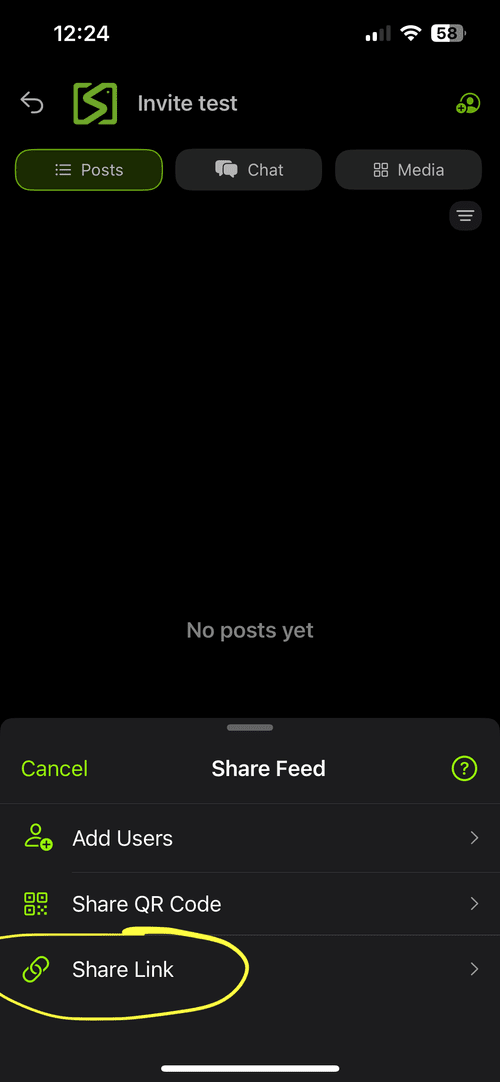
- Show the QR code and let them scan it to join, or copy the invite link and send it.
If they have not downloaded it yet:
- Open feed settings and tap Invite or Add Member.
- Select the email option.
- Enter their email address and send the invite, and they will get a link to download the app and join the feed.
 |
|
Free to Start